Guide
How to Choose a Diamond Cup Wheel: Bond and Grit, in 5 Steps
The wrong bond glazes on a hard slab or burns through segments on a soft one. Here is how to match the wheel to the concrete in front of you.
· 3 min read
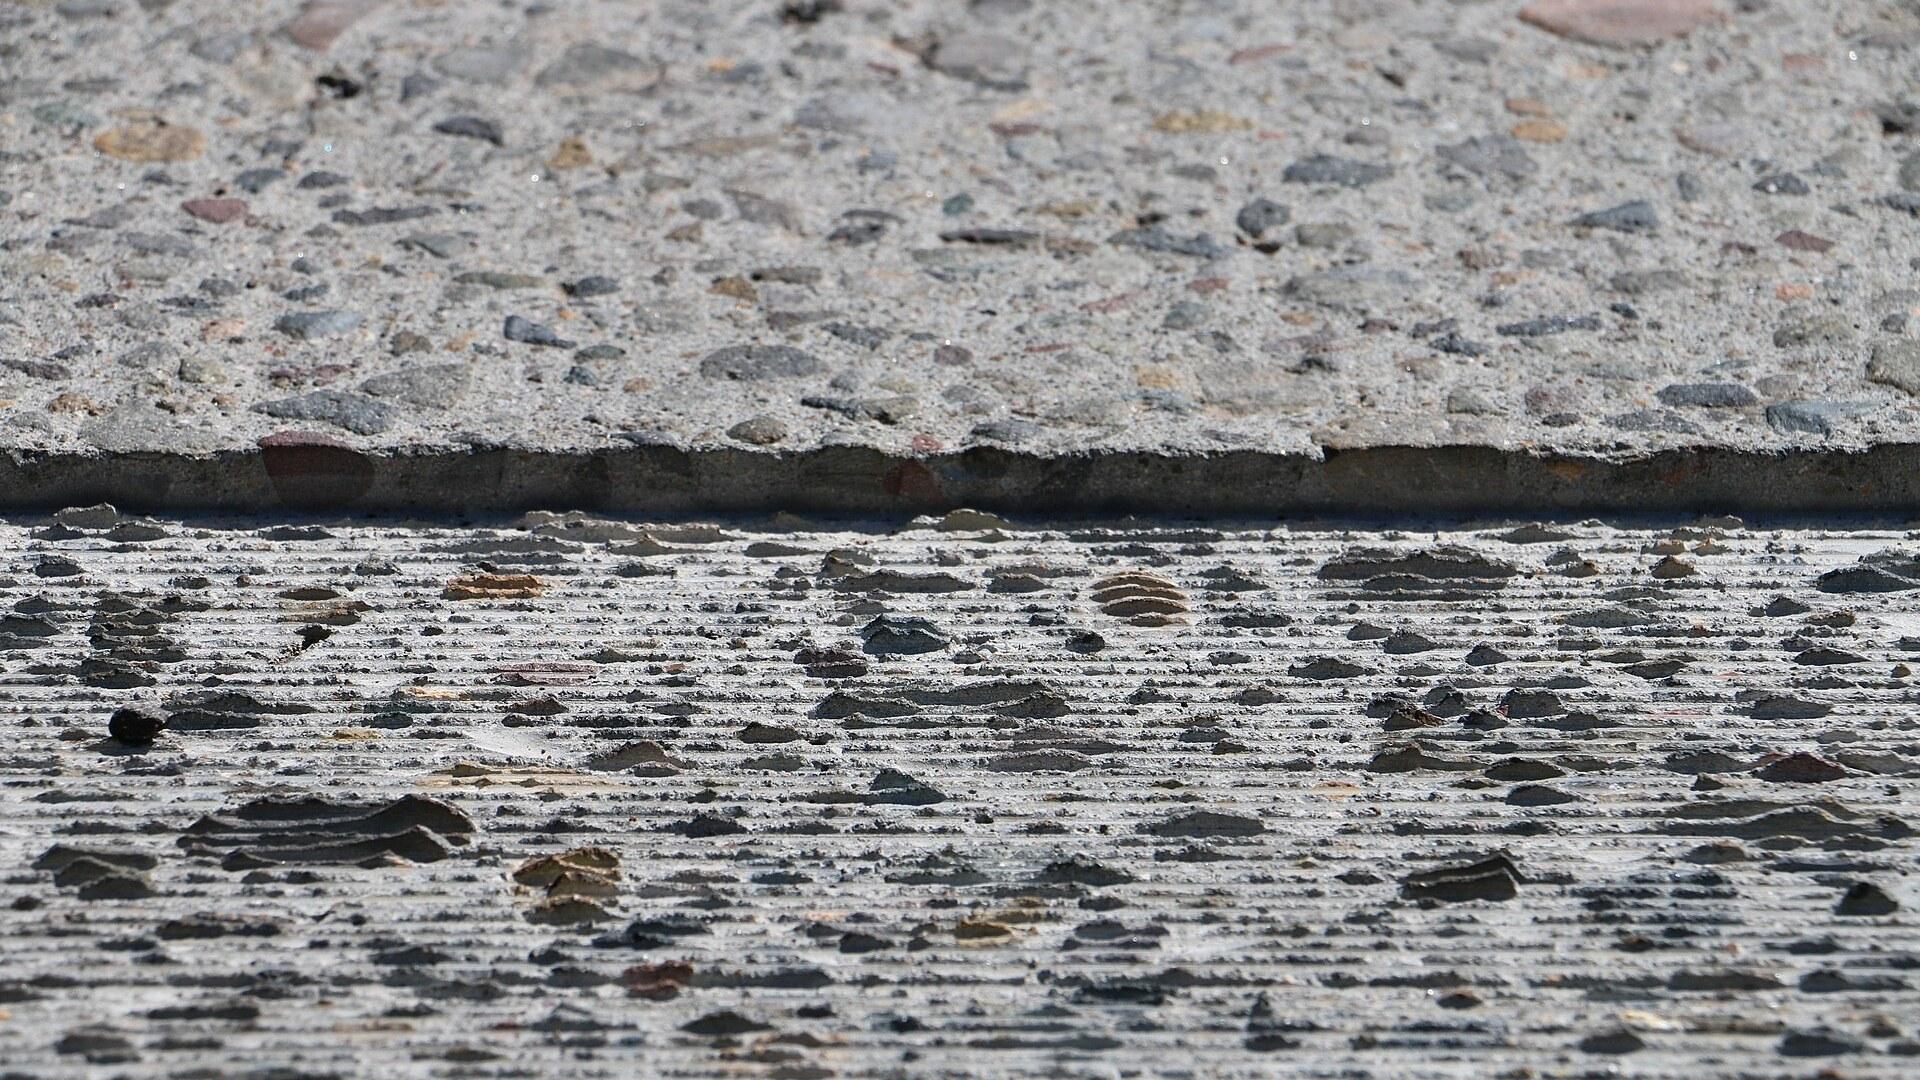
A diamond cup wheel does not cut concrete the way a blade cuts wood. The diamonds do the cutting, and the metal bond that holds them has to wear away at the right rate to keep exposing fresh diamond. Get the bond wrong and the wheel either stops cutting or disappears in an afternoon. Get the grit wrong and you leave a scratch pattern your coating cannot hide.
Use these five steps before you put a wheel on the grinder.
1. Test how hard the slab is
Concrete hardness is the single biggest factor in choosing a bond. Dense, power-troweled slabs are hard. Older, sandy or green concrete is soft. If you have a Mohs scratch kit, use it. If not, a few seconds with a test wheel tells you a lot: a wheel that skates and stays cool is on hard concrete, and a wheel that throws heavy dust and wears fast is on soft concrete.
2. Pick the bond: it works the opposite way to the concrete
This is the part that catches people out. Hard concrete needs a soft bond, and soft concrete needs a hard bond.
Super soft bond for hard to very hard concrete. The bond wears quickly enough to keep fresh diamonds cutting on a dense slab instead of glazing over.
Medium bond for medium-hardness concrete. The all-round choice, balancing cutting speed against wheel life.
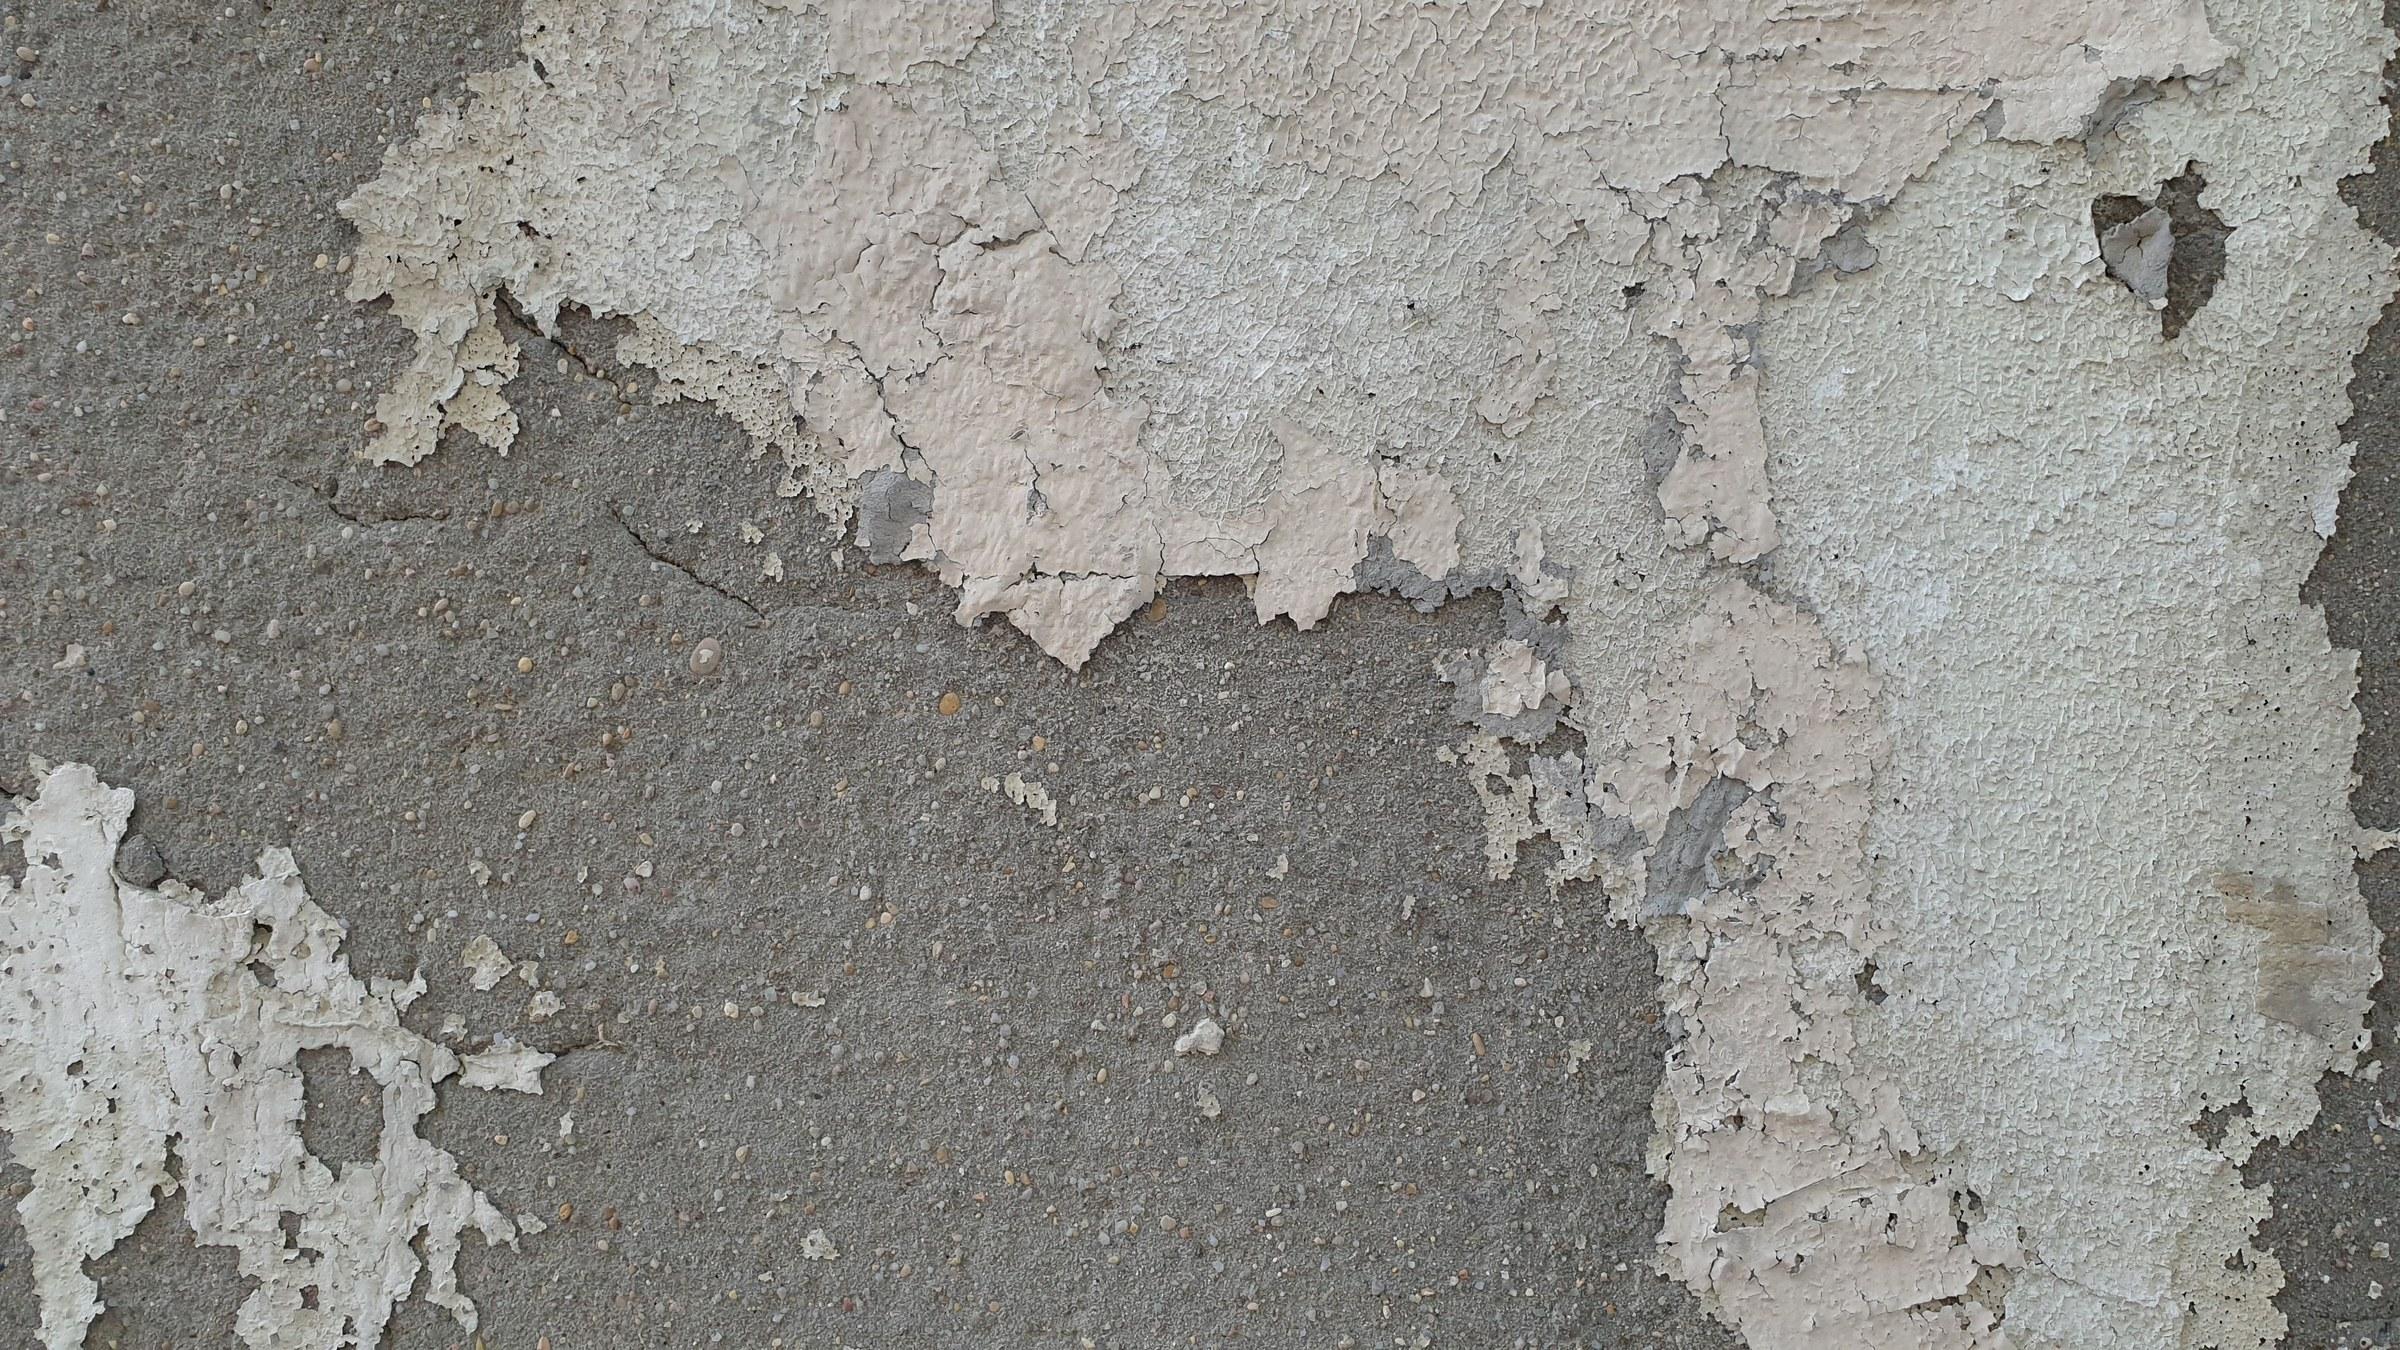
Hard bond for soft or green concrete and abrasive overlays. The bond holds on to its diamonds longer, so the wheel is not eaten alive by an abrasive surface.
If a wheel glazes and stops cutting, step to a softer bond. If it wears quickly, step to a harder one.
3. Pick the grit for the job
6 grit: the most aggressive cut. Use it for removing coatings, mastic and adhesive.
16 grit: general grinding and profiling, levelling high spots, or cleaning up after a 6 grit pass.
30 grit: a finer scratch for profiling the surface before a coating goes down.
A typical coating removal job runs 6 grit, then 16 or 30 to refine the scratch. On bare concrete that only needs profiling, you can often start at 16 or 30.
4. Pick the size for the grinder
5" (125 mm), 12 segments, rated to 12,000 RPM. The common size for hand-held angle grinders, edges and smaller rooms.
7" (180 mm), 22 segments, rated to 8,000 RPM. More cutting face per pass for open floor.
Both sizes mount on a 5/8-11 threaded arbor. Never run a wheel above its rated speed: check the grinder's no-load RPM before you mount it.
5. Control the dust before you start
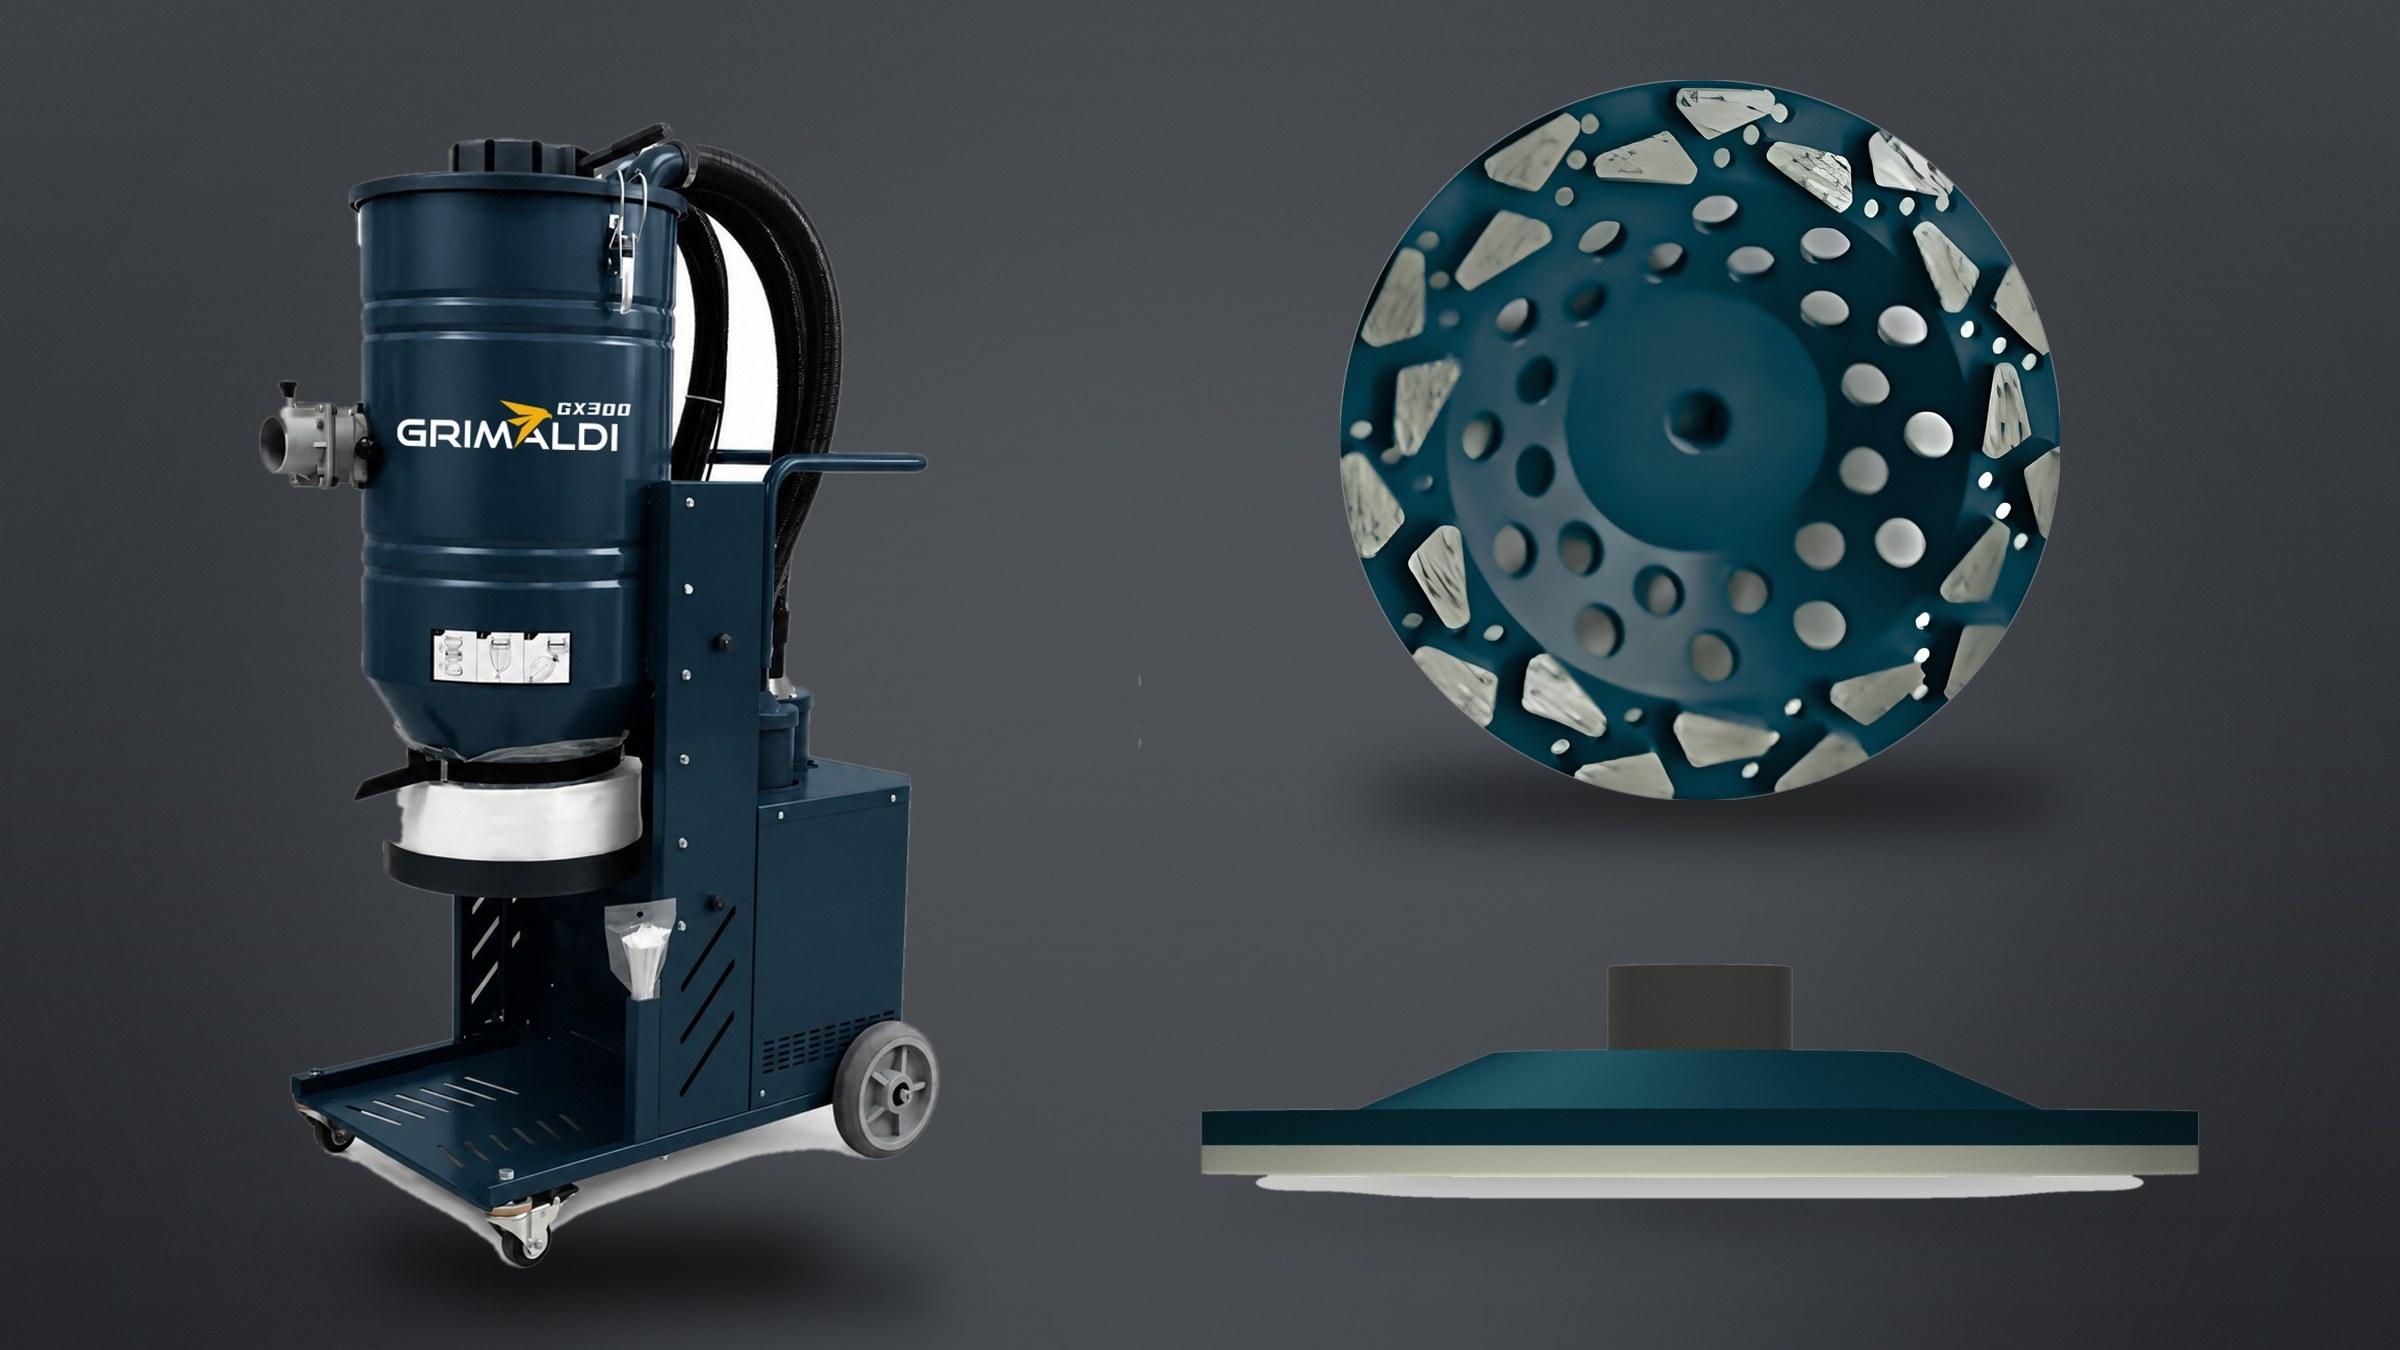
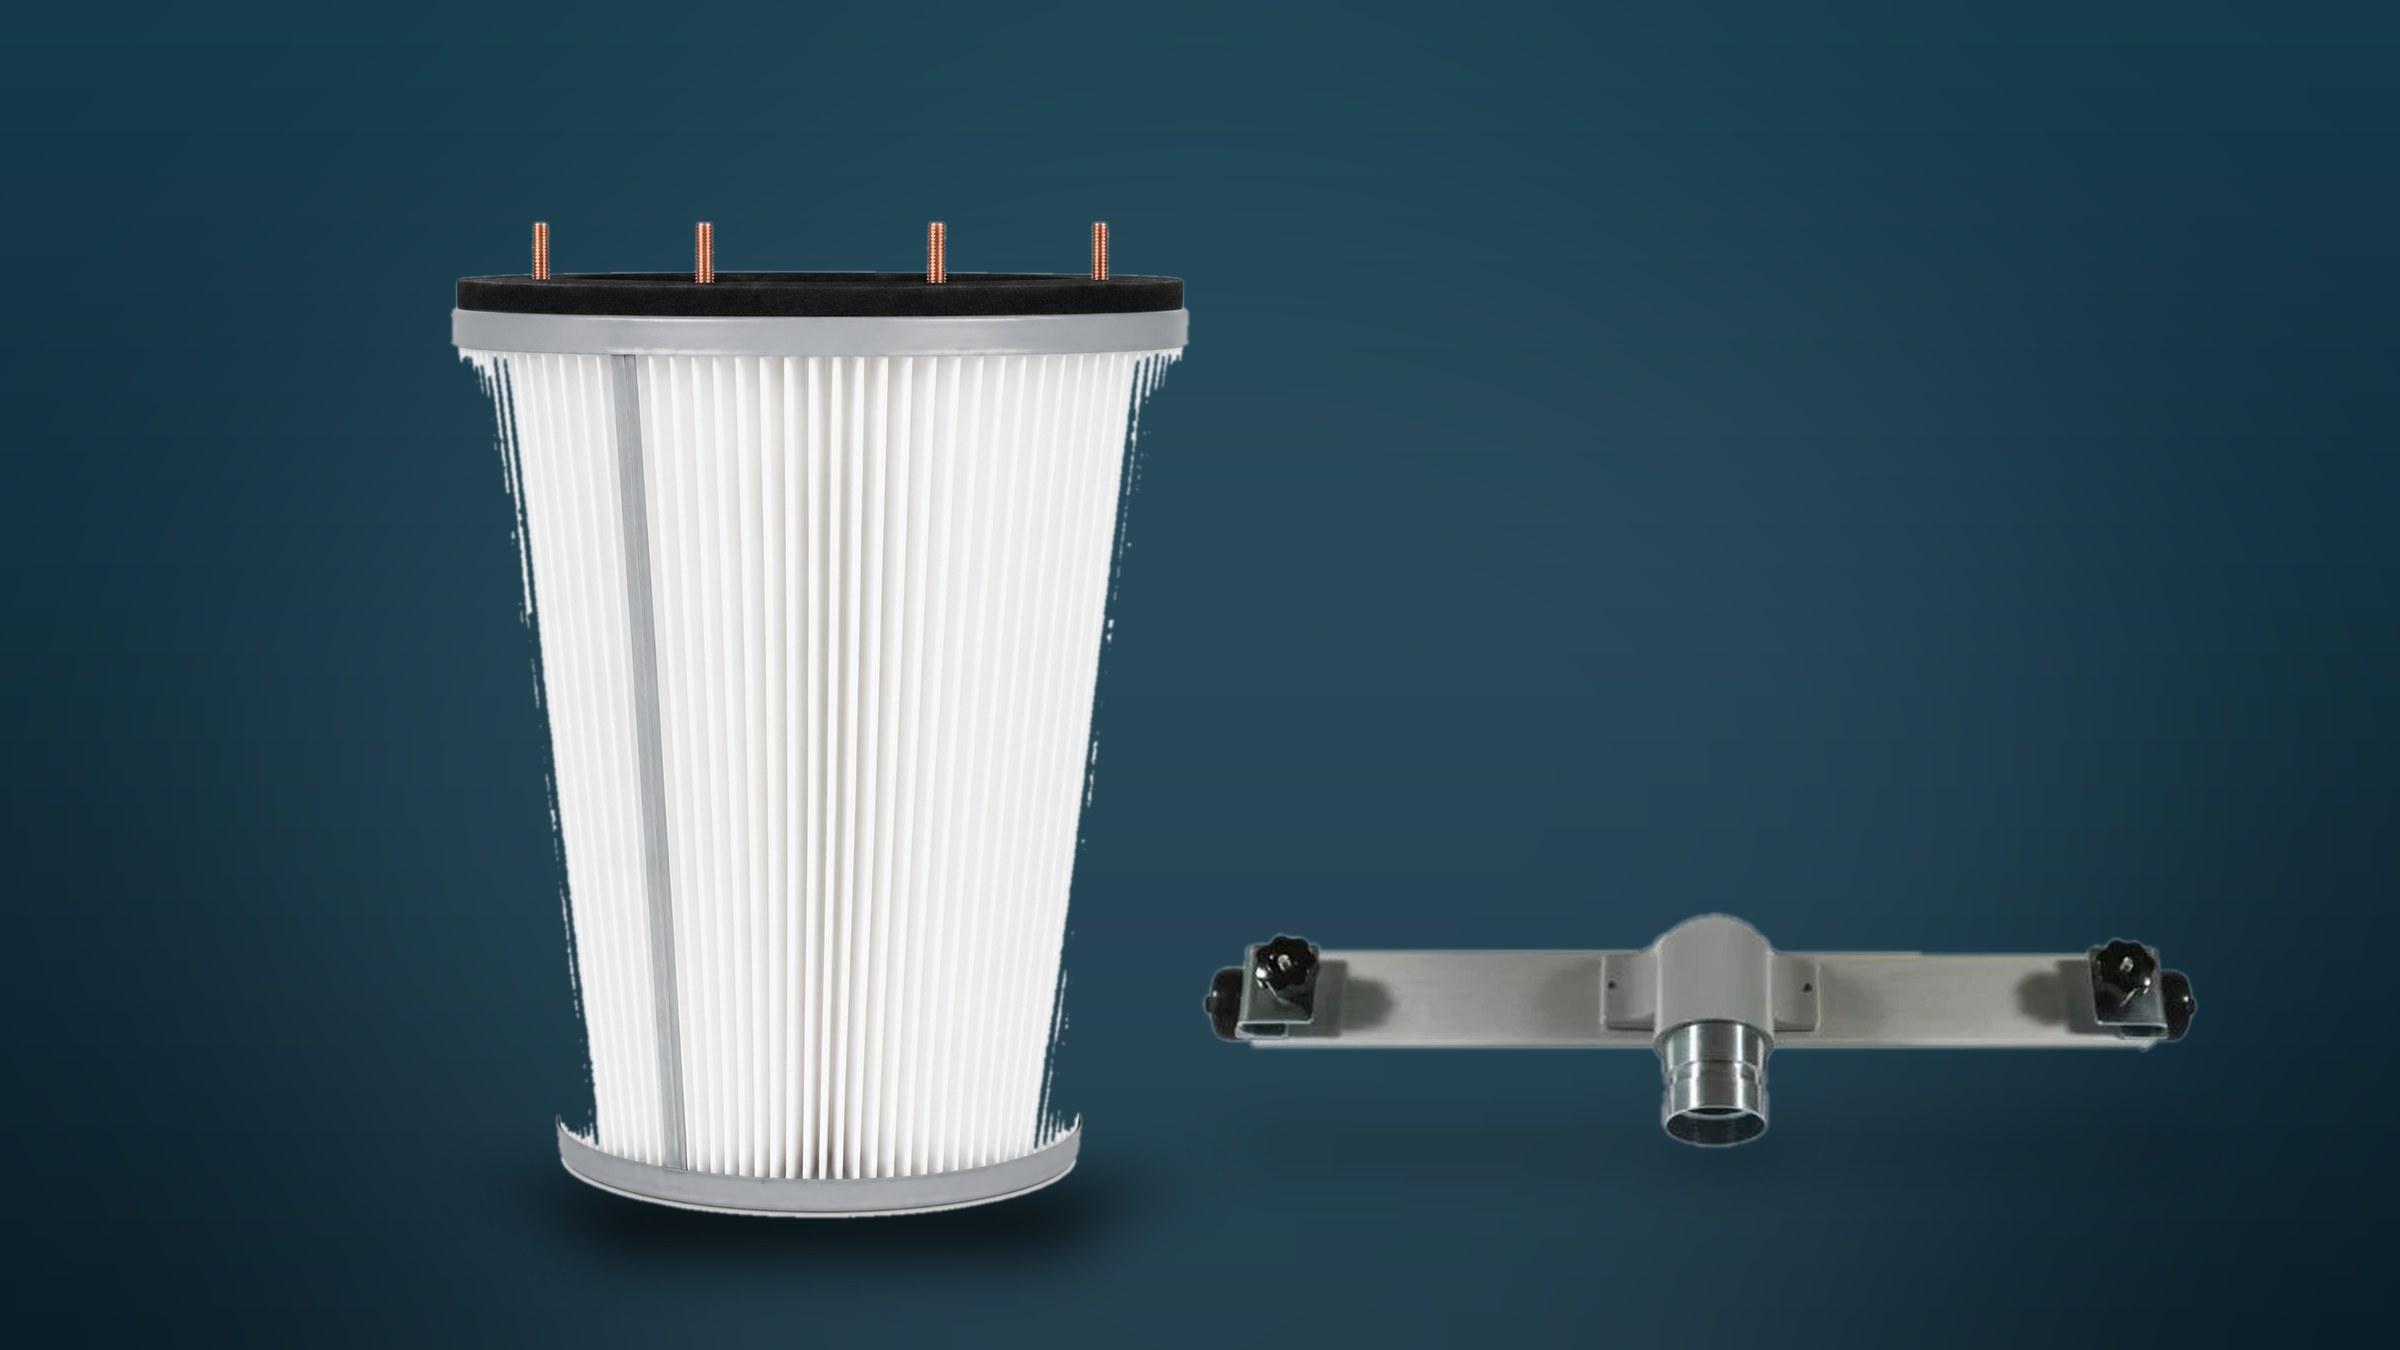
Grinding concrete makes fine silica dust. Run every cup wheel under a dust shroud connected to an industrial dust extractor with a PTFE membrane filter. An auto-cleaning filter keeps suction steady as the filter loads, which matters over a full grinding day. Wear a fitted respirator as well; the extractor reduces dust, it does not replace PPE.
Quick reference
Hard to very hard: Bond: Super soft · Start grit: 16 (6 if removing a coating)
Medium: Bond: Medium · Start grit: 16 (6 if removing a coating)
Soft, green, abrasive overlay: Bond: Hard · Start grit: 16 or 30
Not sure what slab you are on? Send us a photo and the job details through the contact page and we will help you pick a starting wheel.