Guide
Choosing an Epoxy Roller Cover: Nap, Frame and Pole
A lint-free cover in the right nap is the difference between a clean, even film and a floor full of fibres and roller marks. Here is how to set up a roller for epoxy.
· 3 min read

On a resinous floor, the roller does two jobs. It spreads material where a squeegee cannot reach, and it back-rolls the film after the squeegee to even out notch lines and leave a uniform finish. Both jobs go wrong for the same reasons: a cover that sheds fibres, the wrong nap for the coat, or a frame that flexes on a long pass.
Here is how to set up a roller for epoxy and other two-part floor coatings.
1. Use a lint-free cover made for coatings
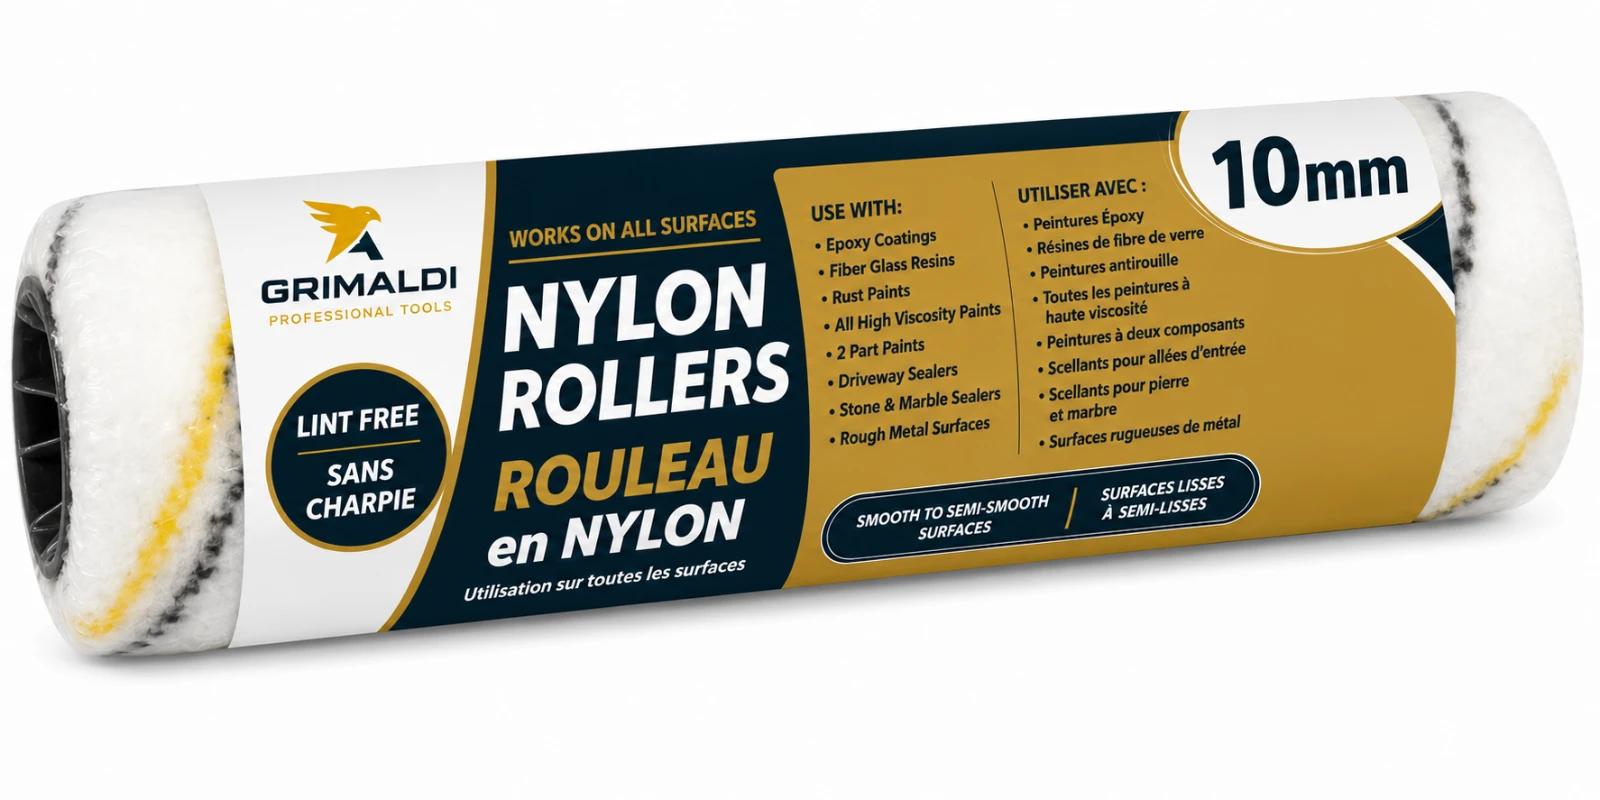
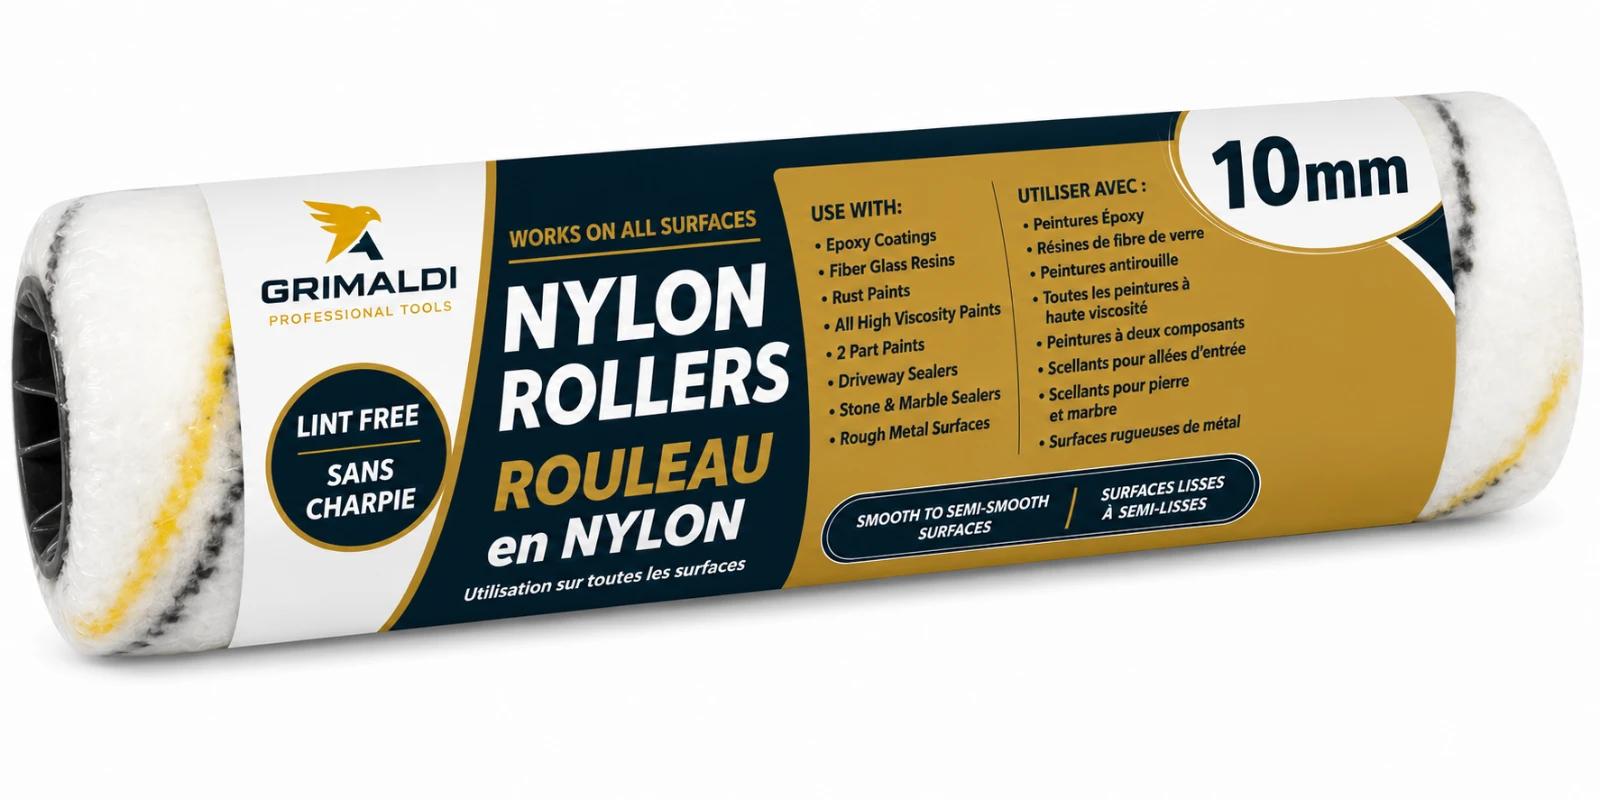
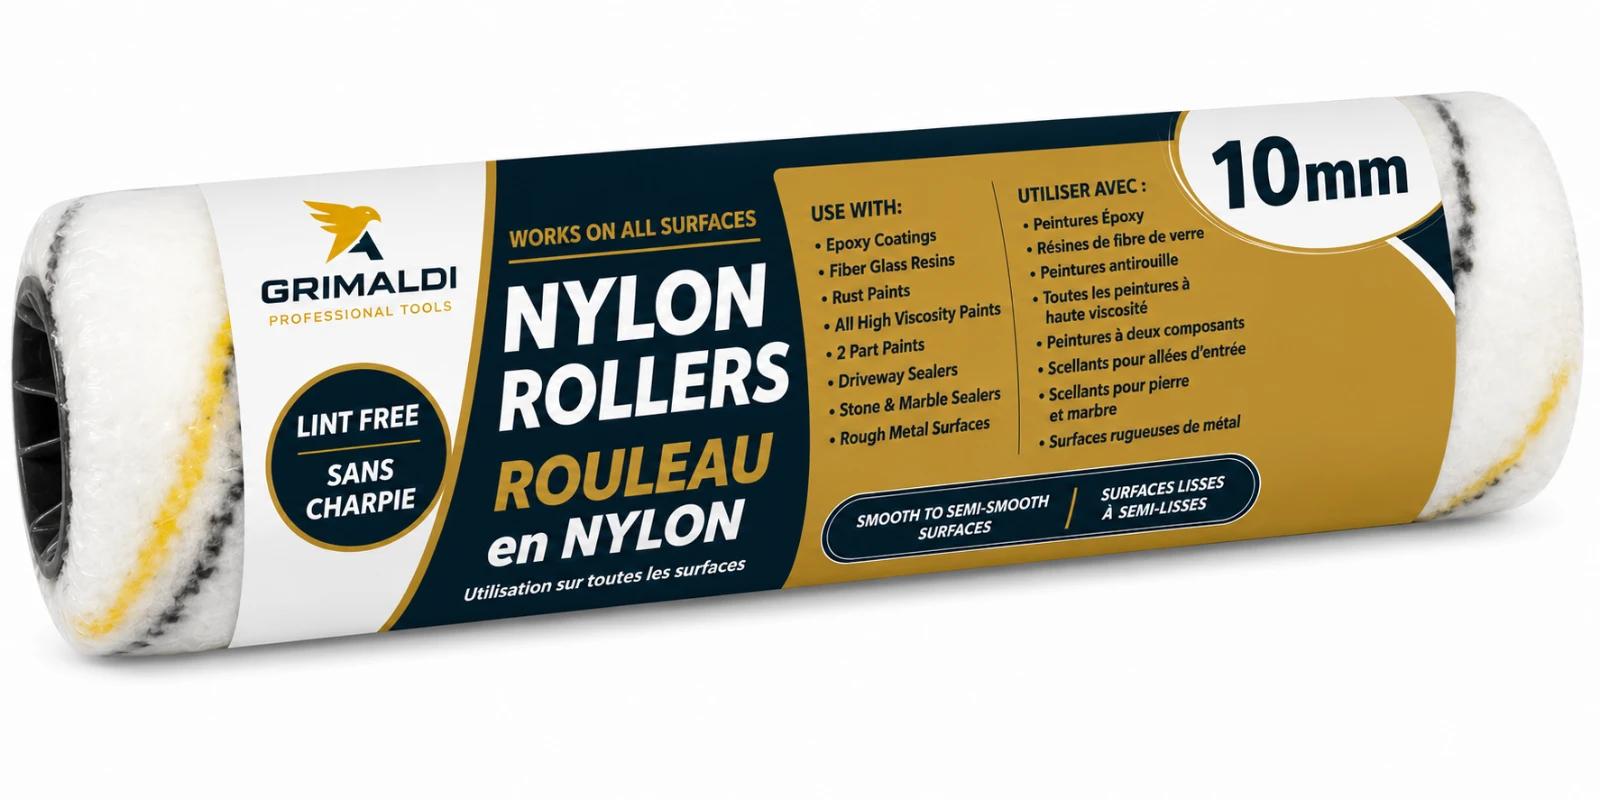
A general paint roller sheds. On a clear or high-gloss floor, every fibre it leaves is visible once the coating cures. Use a lint-free nylon cover rated for epoxy and high-viscosity materials. The Grimaldi 18" nylon epoxy roller holds up to thick, solvent-bearing and two-part coatings and releases them without shedding into the finish. It also suits urethanes, sealers and fibreglass resins.
2. Pick the nap for the coat
The nap is the length of the fabric pile. A longer nap carries more material per load; a shorter nap leaves a smoother film.
5 mm: thin coats on smooth concrete, and sealers
10 mm and 13 mm: general epoxy work and moderate film builds, including back-rolling a body coat
15 mm: carries the most material per load, for heavier coats or a little more surface texture
If you are not sure, start with 10 mm for a body coat and 5 mm for a thin sealer or topcoat, and check the coating's data sheet for any roller guidance.
3. Match the frame to the job
An 18" cover needs a frame that holds it steady across a wide pass.
Quick-release polypropylene frame (GRR-3030): takes any 18" cover in standard 1 1/2" or jumbo 2 1/4" diameter and every nap height. Covers slide on and off with no tools, so switching from a primer cover to a topcoat cover takes seconds. The plastic will not rust and cleans up easily.
Heavy-duty metal frame (GRR-3010): an adjustable metal frame that takes rollers from 9" up to 18", built for industrial settings where a light frame would flex. Use a narrow cover for edges and a full 18" cover for open floor on the same frame.
Both have a threaded socket for an extension pole.
4. Roll standing up
A 60" fibreglass and aluminum extension pole lets you roll primers, body coats and topcoats standing upright and keeps you back from the wet edge. It is light enough to control through a long day, and the threaded metal tip locks onto the frame.
5. Load evenly, roll in one direction last
Load the cover from a tray or bucket wide enough for an 18" roller. When back-rolling behind a squeegee, roll at right angles to the squeegee passes, then finish each section with light passes in one direction so the whole floor dries with the same texture.
6. One cover per coat
Two-part coatings cure in the cover. Use a fresh cover for each coat, and keep a spare on hand so a cover that starts to drag or pick up cured material can be swapped mid-floor.
Quick reference
Sealer or thin topcoat: 5 mm nap
Body coat, back-rolling: 10 mm or 13 mm
Heavier coat or light texture: 15 mm
Frame: quick-release polypropylene for fast cover changes, heavy-duty metal for industrial work
Pole: 60" fibreglass and aluminum
Need help matching a roller to a coating system? Ask us through the contact page.