Guide
Epoxy Cove Base: How to Run a Clean Floor-to-Wall Cove
A cove base turns the hard corner where floor meets wall into a smooth curve the coating can run straight up. Here is how to prep, pack, trowel and coat one so it looks like part of the floor.
By Grimaldi Tools · · 3 min read
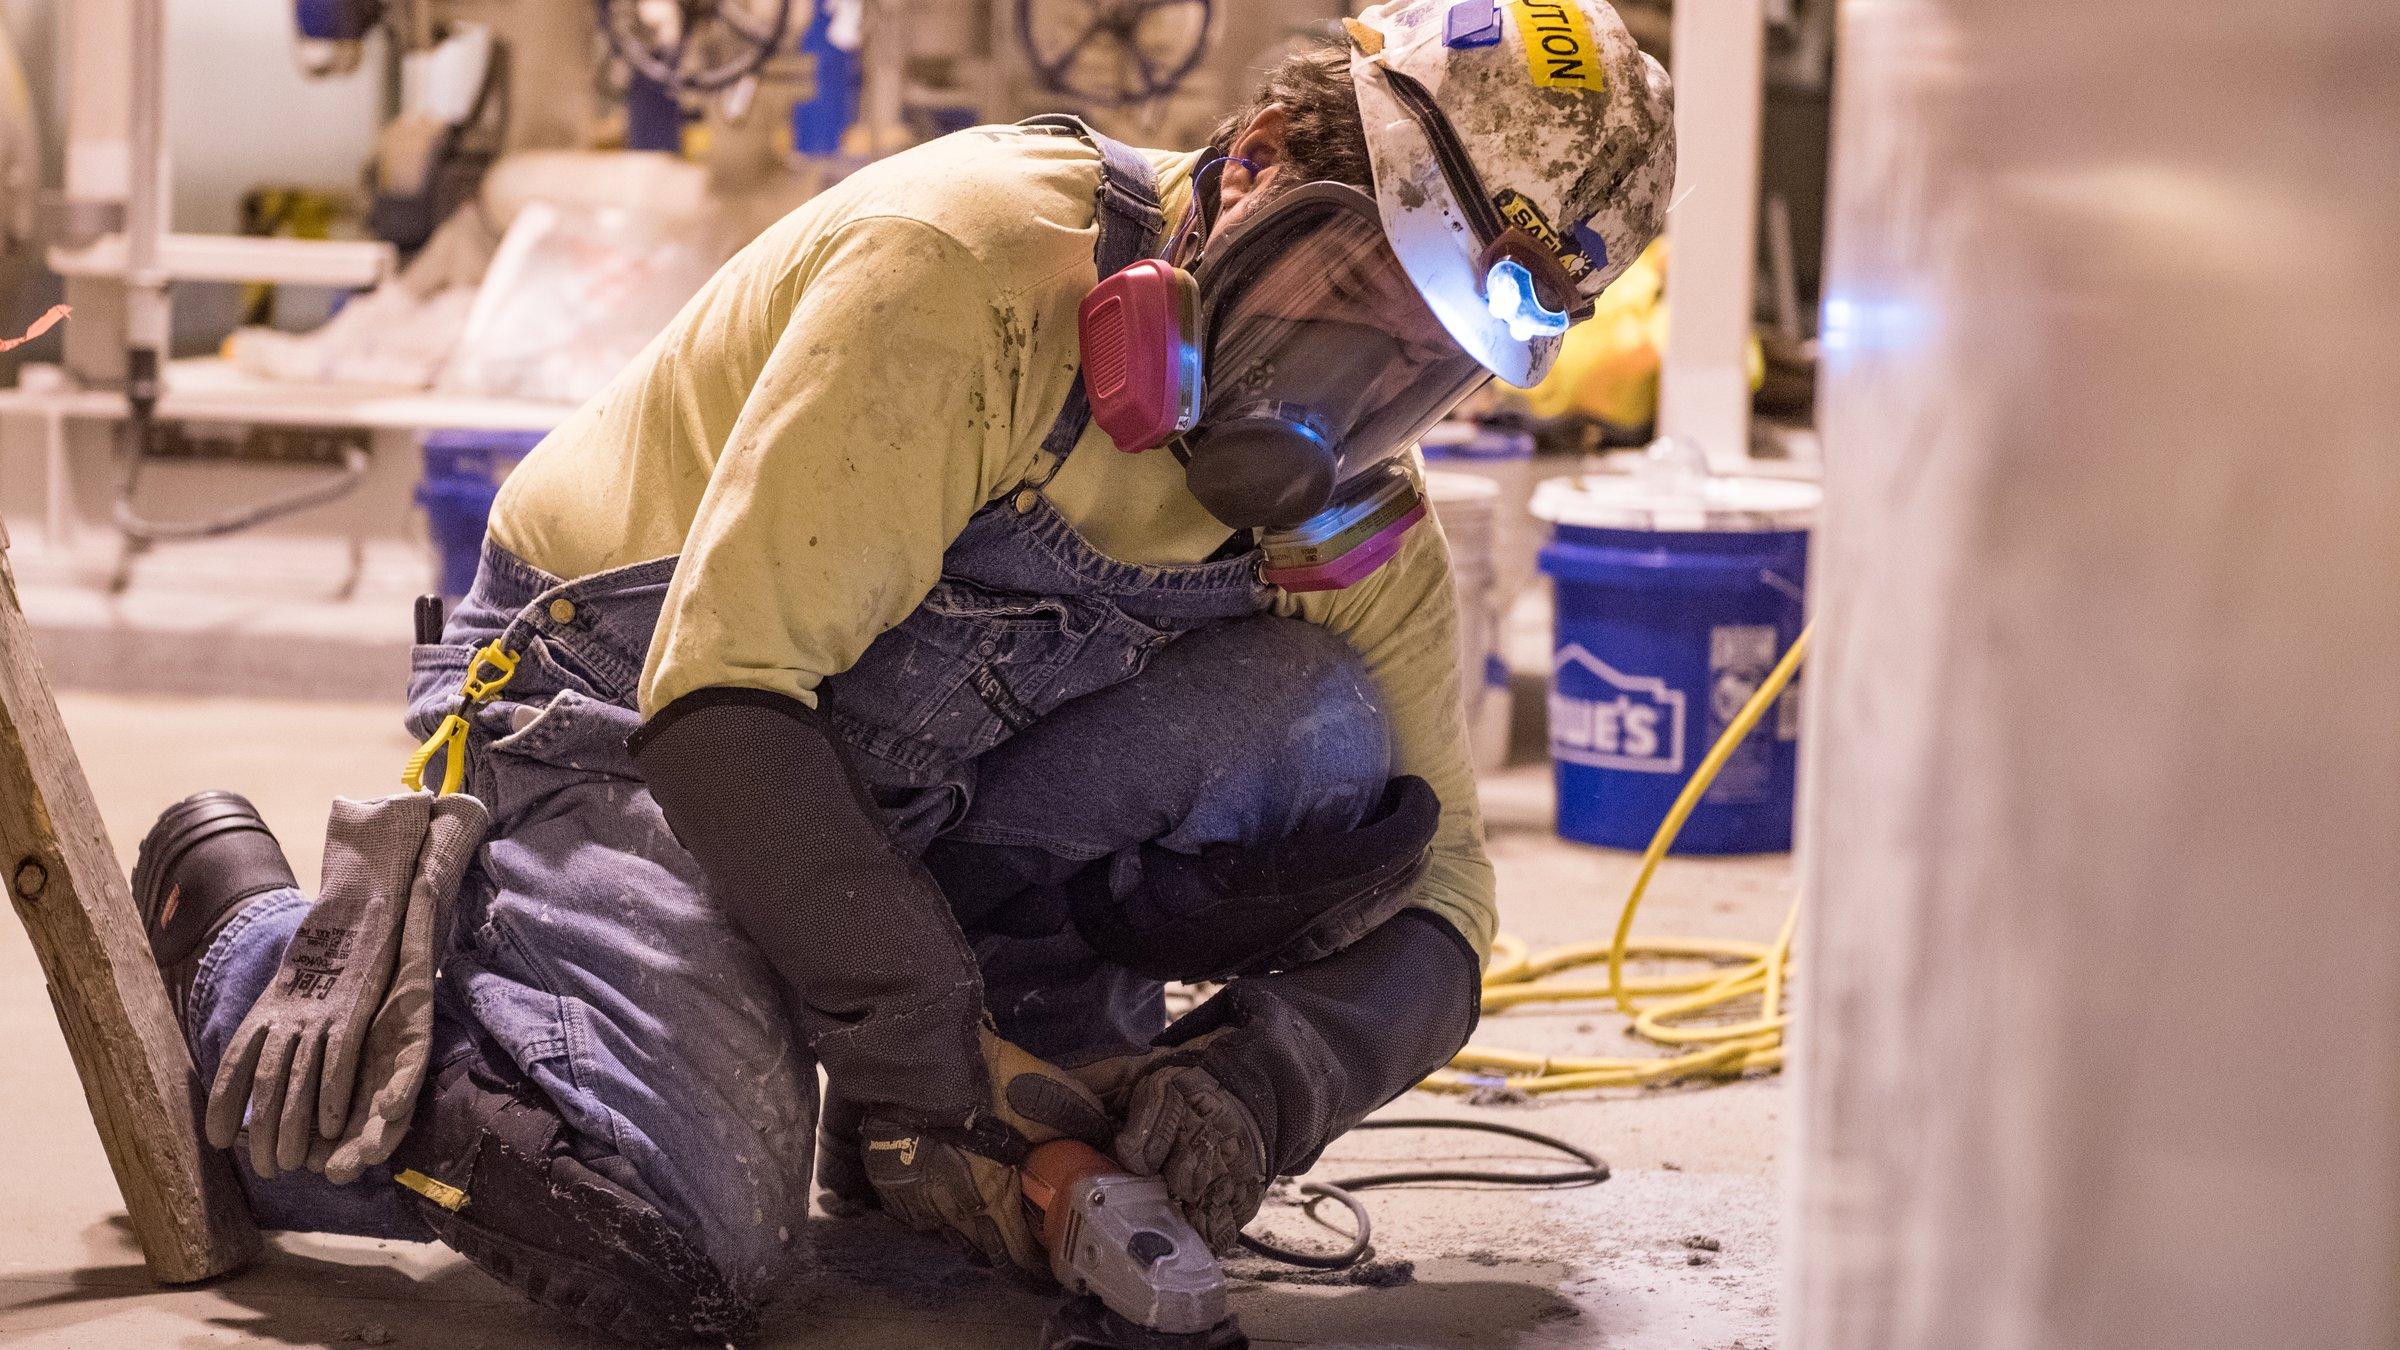
Kitchens, washrooms, vet clinics and food plants all ask for the same thing: no corner where dirt and water can sit. A cove base solves that by carrying the floor up the wall in one smooth curve. It is slow work the first time, but the steps are simple once you know the order.
When a job needs cove
Wash-down areas. Anywhere that gets hosed or mopped wet, a cove keeps water off the drywall and out of the joint.
Health and food spaces. Inspectors and specs often call for an integral cove base.
Garages and shops. Optional, but a short cove makes a flake floor look finished and easy to clean.
Which trowel do I need?
Grimaldi cove trowels come in two radii, each in two wall heights (3 1/2" or 6"), all with a 5 3/4" floor depth and a 7 1/2" running width.
3/4" radius: a tighter curve. Good for a neat, low-profile cove on residential and light commercial work.
1" radius: a fuller, more generous curve. Easier to clean and common where the spec calls for a bigger sanitary cove.
Wall height: pick the height the spec or client wants. A 6" cove covers more wall and hides more damage at the base.
If the spec names a radius, match it. If it doesn't, pick one and use it on the whole job so every corner matches.
The steps, in order
Prep the wall line with the floor. Grind or scarify the bottom of the wall and the floor edge at the same time as the open floor. Cove mortar needs a clean, sound, profiled surface just like the coating does.
Mask a straight top line. Snap or measure your finished height and tape a clean line on the wall. That line is what people will see.
Prime the area. Prime the wall band and the floor edge with the primer your system calls for, and follow its recoat window.
Mix small batches. Cove mortar is a resin and aggregate mix that should hold its shape on a vertical surface. Measure each component accurately and mix only what you can place before it starts to set. Follow the manufacturer's data sheet for ratio, aggregate and pot life.
Pack, then trowel. Pack mortar firmly into the corner, a little proud of your line. Run the cove trowel along the wall in one steady pass to set the radius, floor depth and wall height. Work in short sections and keep a wet edge.
Pull the tape and tidy. Remove the tape while the mortar is still soft for a crisp line. Fix low spots now; they are hard to fix later.
Coat it with the floor. Once cured, lightly sand any ridges and roll the floor coats up and over the cove so it becomes one continuous system. A mini roller handles the curve and inside corners.
Common mistakes
Skipping prep at the wall. A cove on dusty or painted wall lets go first.
Mixing too much. Cove is slow work, so a big batch kicks off in the bucket.
No tape line. A wavy top edge is the first thing a client notices.
Changing radius mid-job. Mixed trowels show at every inside corner.
Poor inside and outside corners. Form these by hand first, then trowel the straight runs into them.
Always read the safety data sheet for your mortar and coating, keep the space ventilated, and wear chemical-resistant gloves and eye protection.
Products in this article
Photo: PEO ACWA, CC BY 2.0, via Wikimedia Commons