Guide
Garage Flake Floor: Every Tool You Need, Step by Step
A flake floor is a sequence of jobs, and each one has its tool. Here is the full kit, in the order you will use it.
· 4 min read
A garage epoxy flake floor is the most common coating job in a residential garage. It goes in as a sequence: prep, prime or base coat, broadcast, scrape, topcoat. Missing one tool usually means stopping halfway through a coat, which is the one time you cannot stop. Here is the full tool list, in the order you will use it.
Every coating system is different. Follow your coating maker's data sheet for coats, film thickness and recoat times. This list covers the tools.
1. Grind the slab
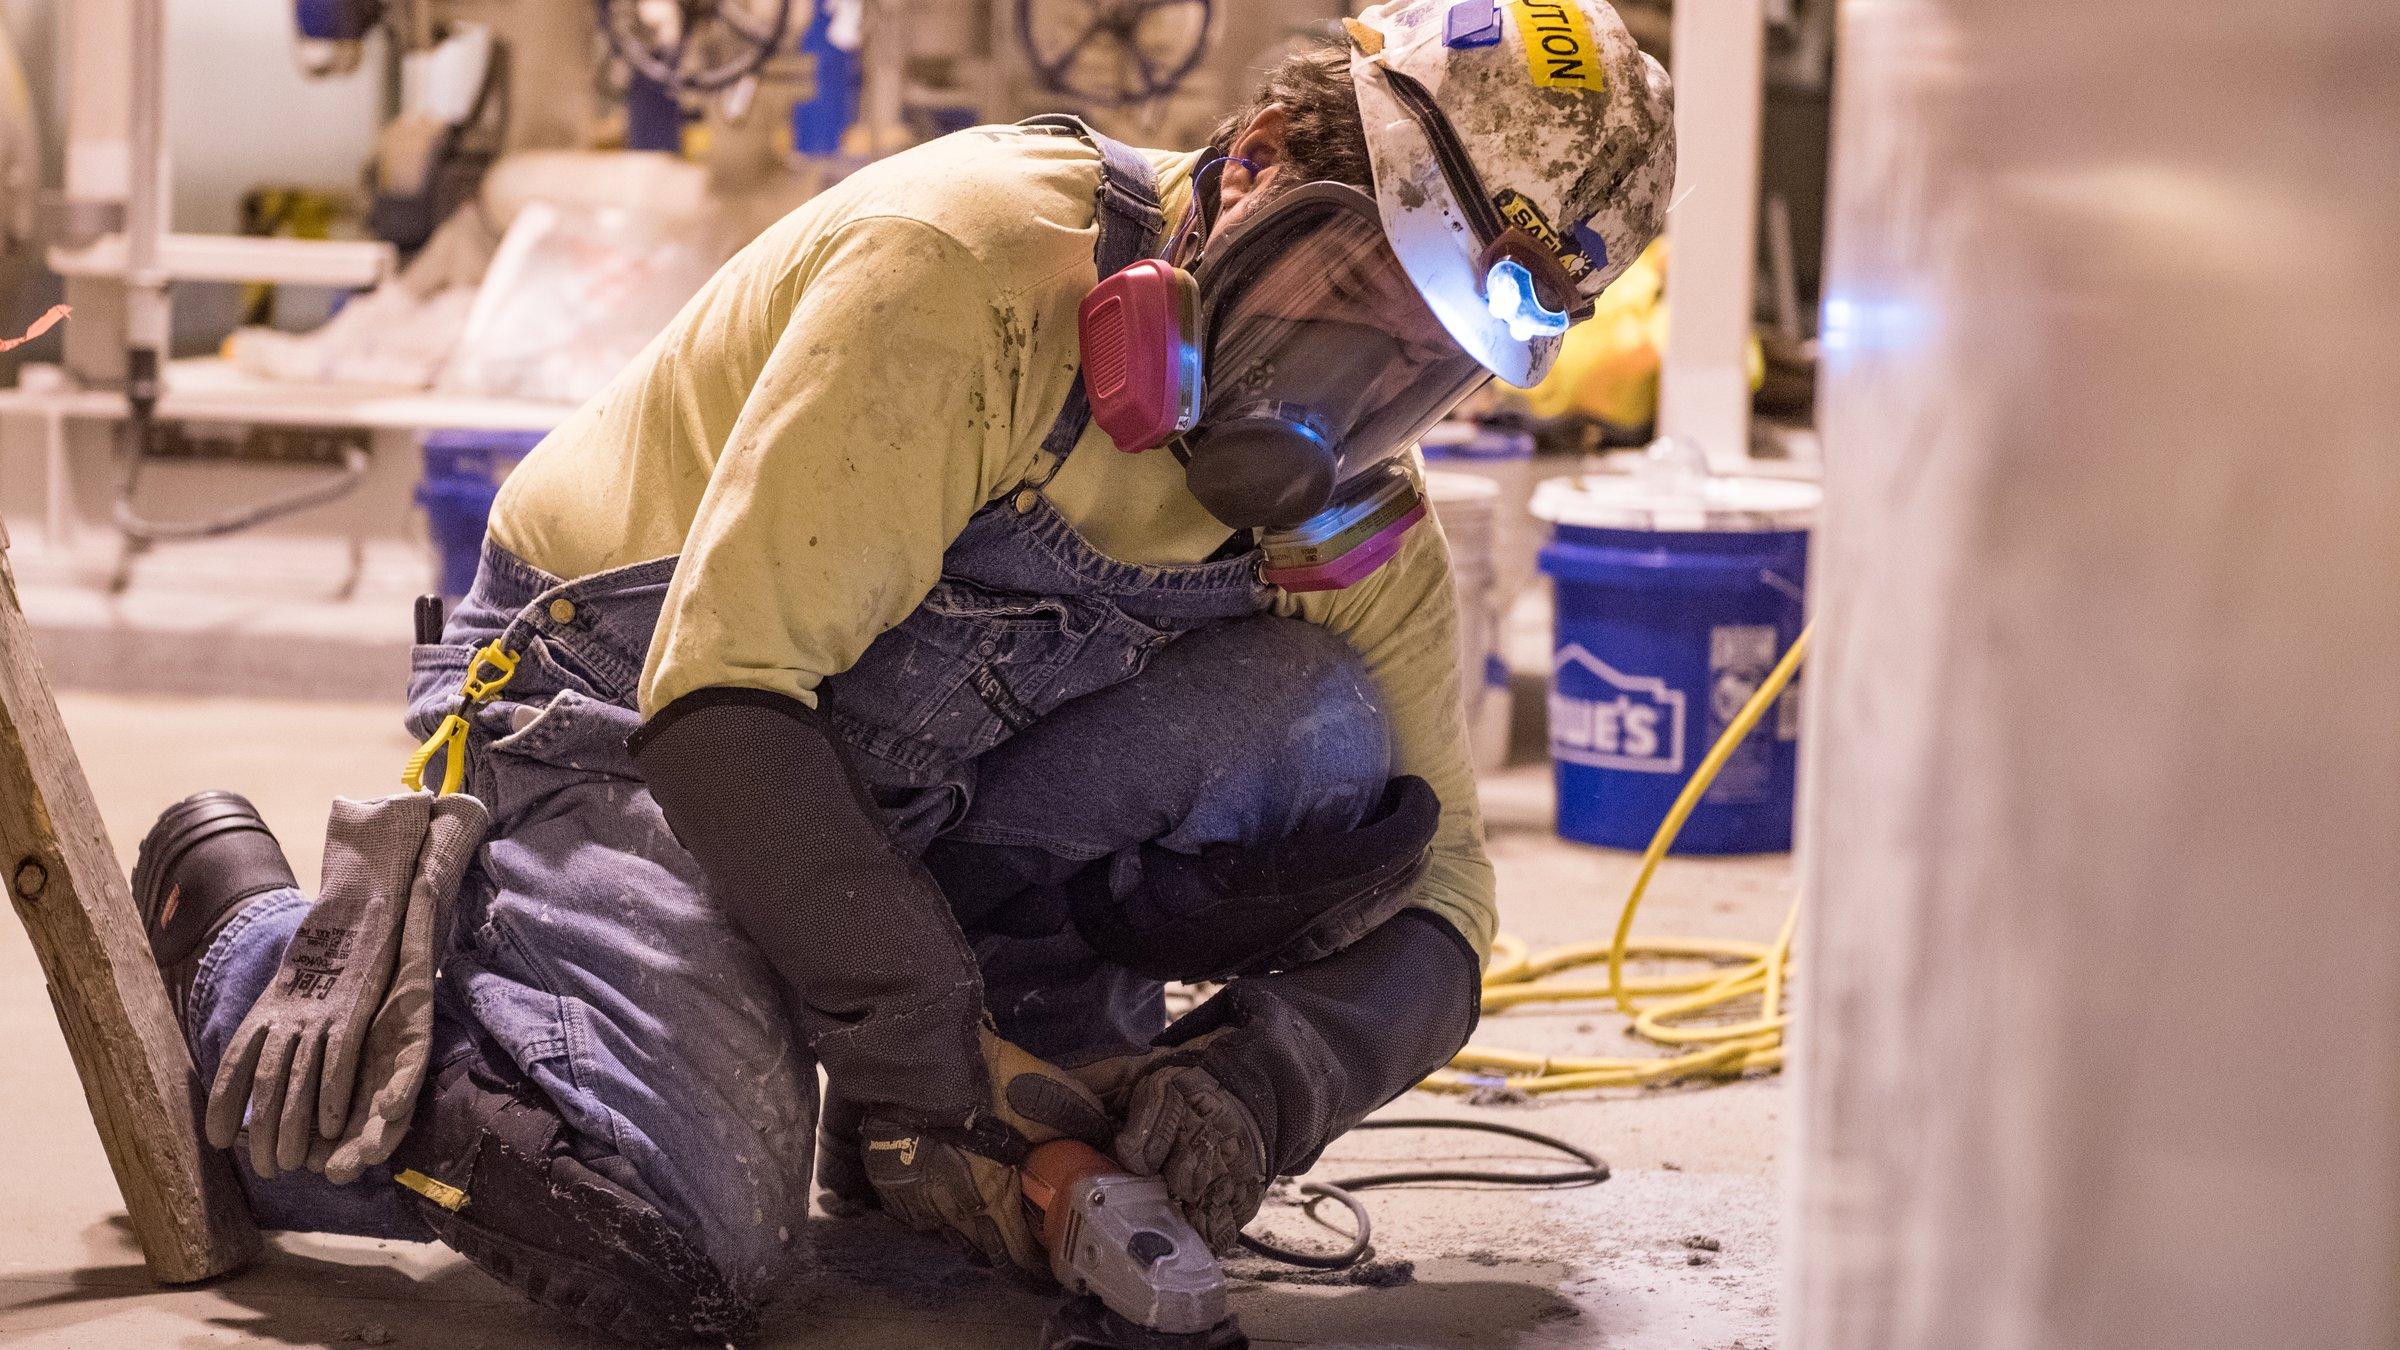
Garage slabs often have sealer, oil or a smooth trowelled finish that coatings will not bond to. Grind to open the surface. If there is an old coating to strip first, see how to remove an old floor coating.
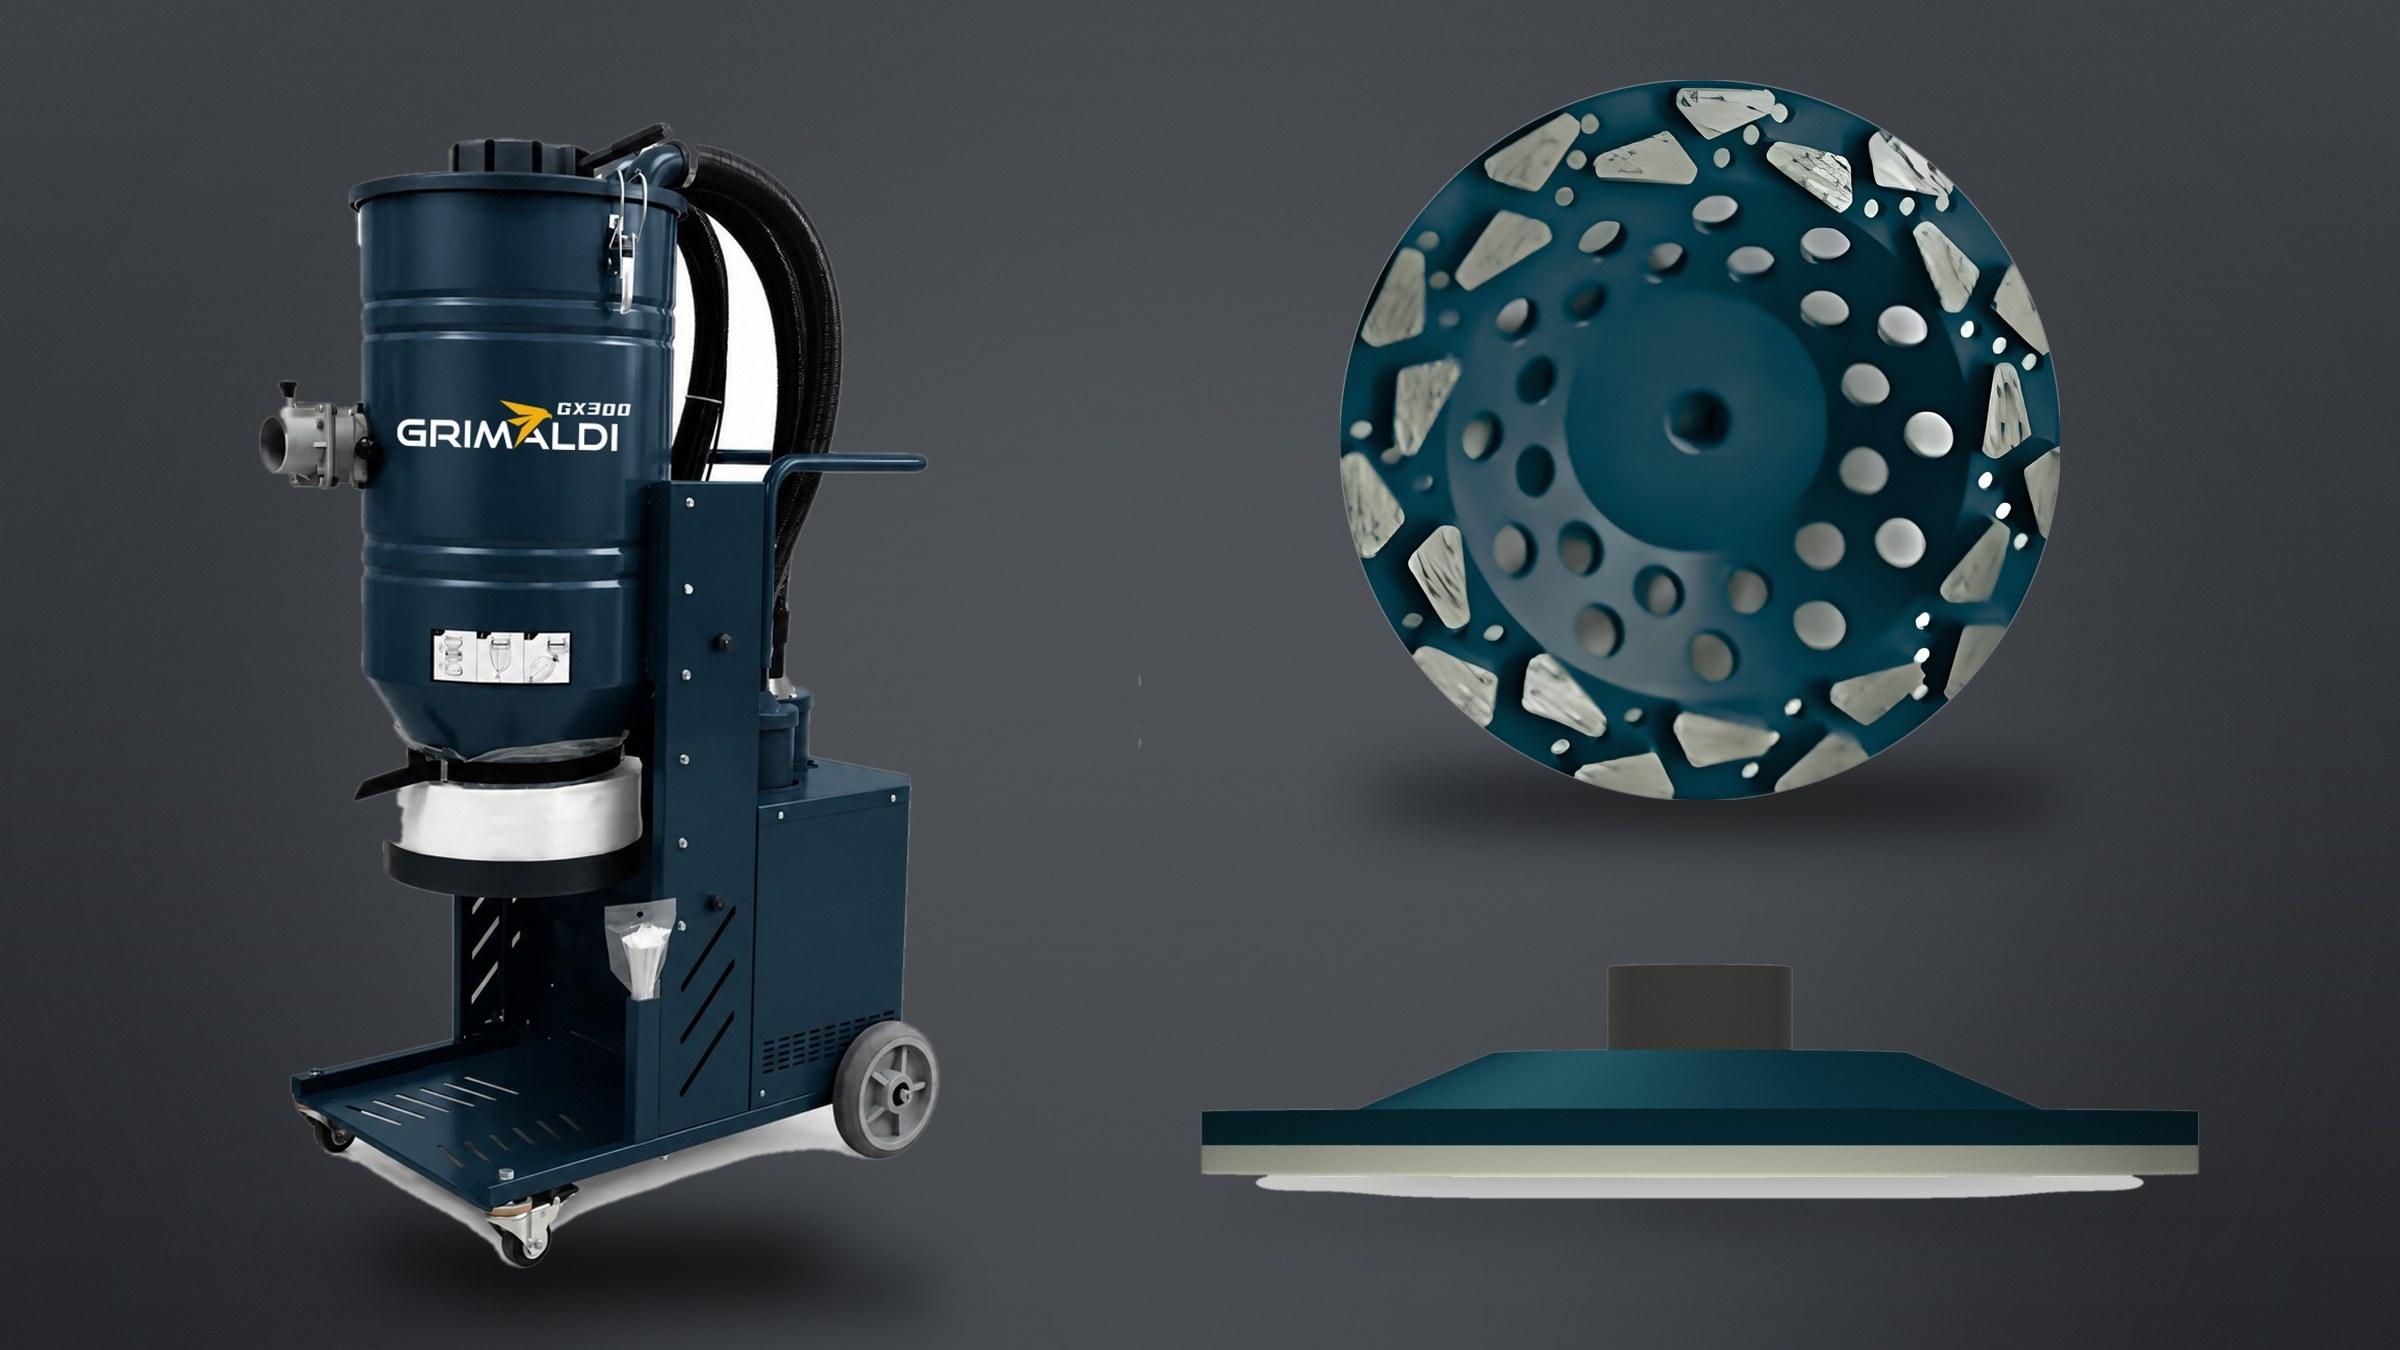
Cup wheel: pick the bond by how hard the concrete is. A 5" super soft bond Reaper cup for hard slabs, a 5" medium bond for average ones. Our cup wheel guide explains bond and grit.
Angle grinder with a dust shroud. Run through the angle grinder safe setup checklist before you start.
Dust extractor: the GX300 runs on a standard 110 V circuit at 14 A, which suits most garages. See how to size a dust extractor.
Respirator, eye and hearing protection. Grinding concrete makes silica dust; see silica dust when grinding concrete in BC.
2. Repair and clean
Crack and patch materials from your coating system.
Vacuum every bit of dust with the extractor. No brooms: dust left on the slab causes bubbles and weak bond. See epoxy bubbles, pinholes and fisheyes.
3. Prime or base coat
Mixing: a drill and mixing paddle, run slowly.
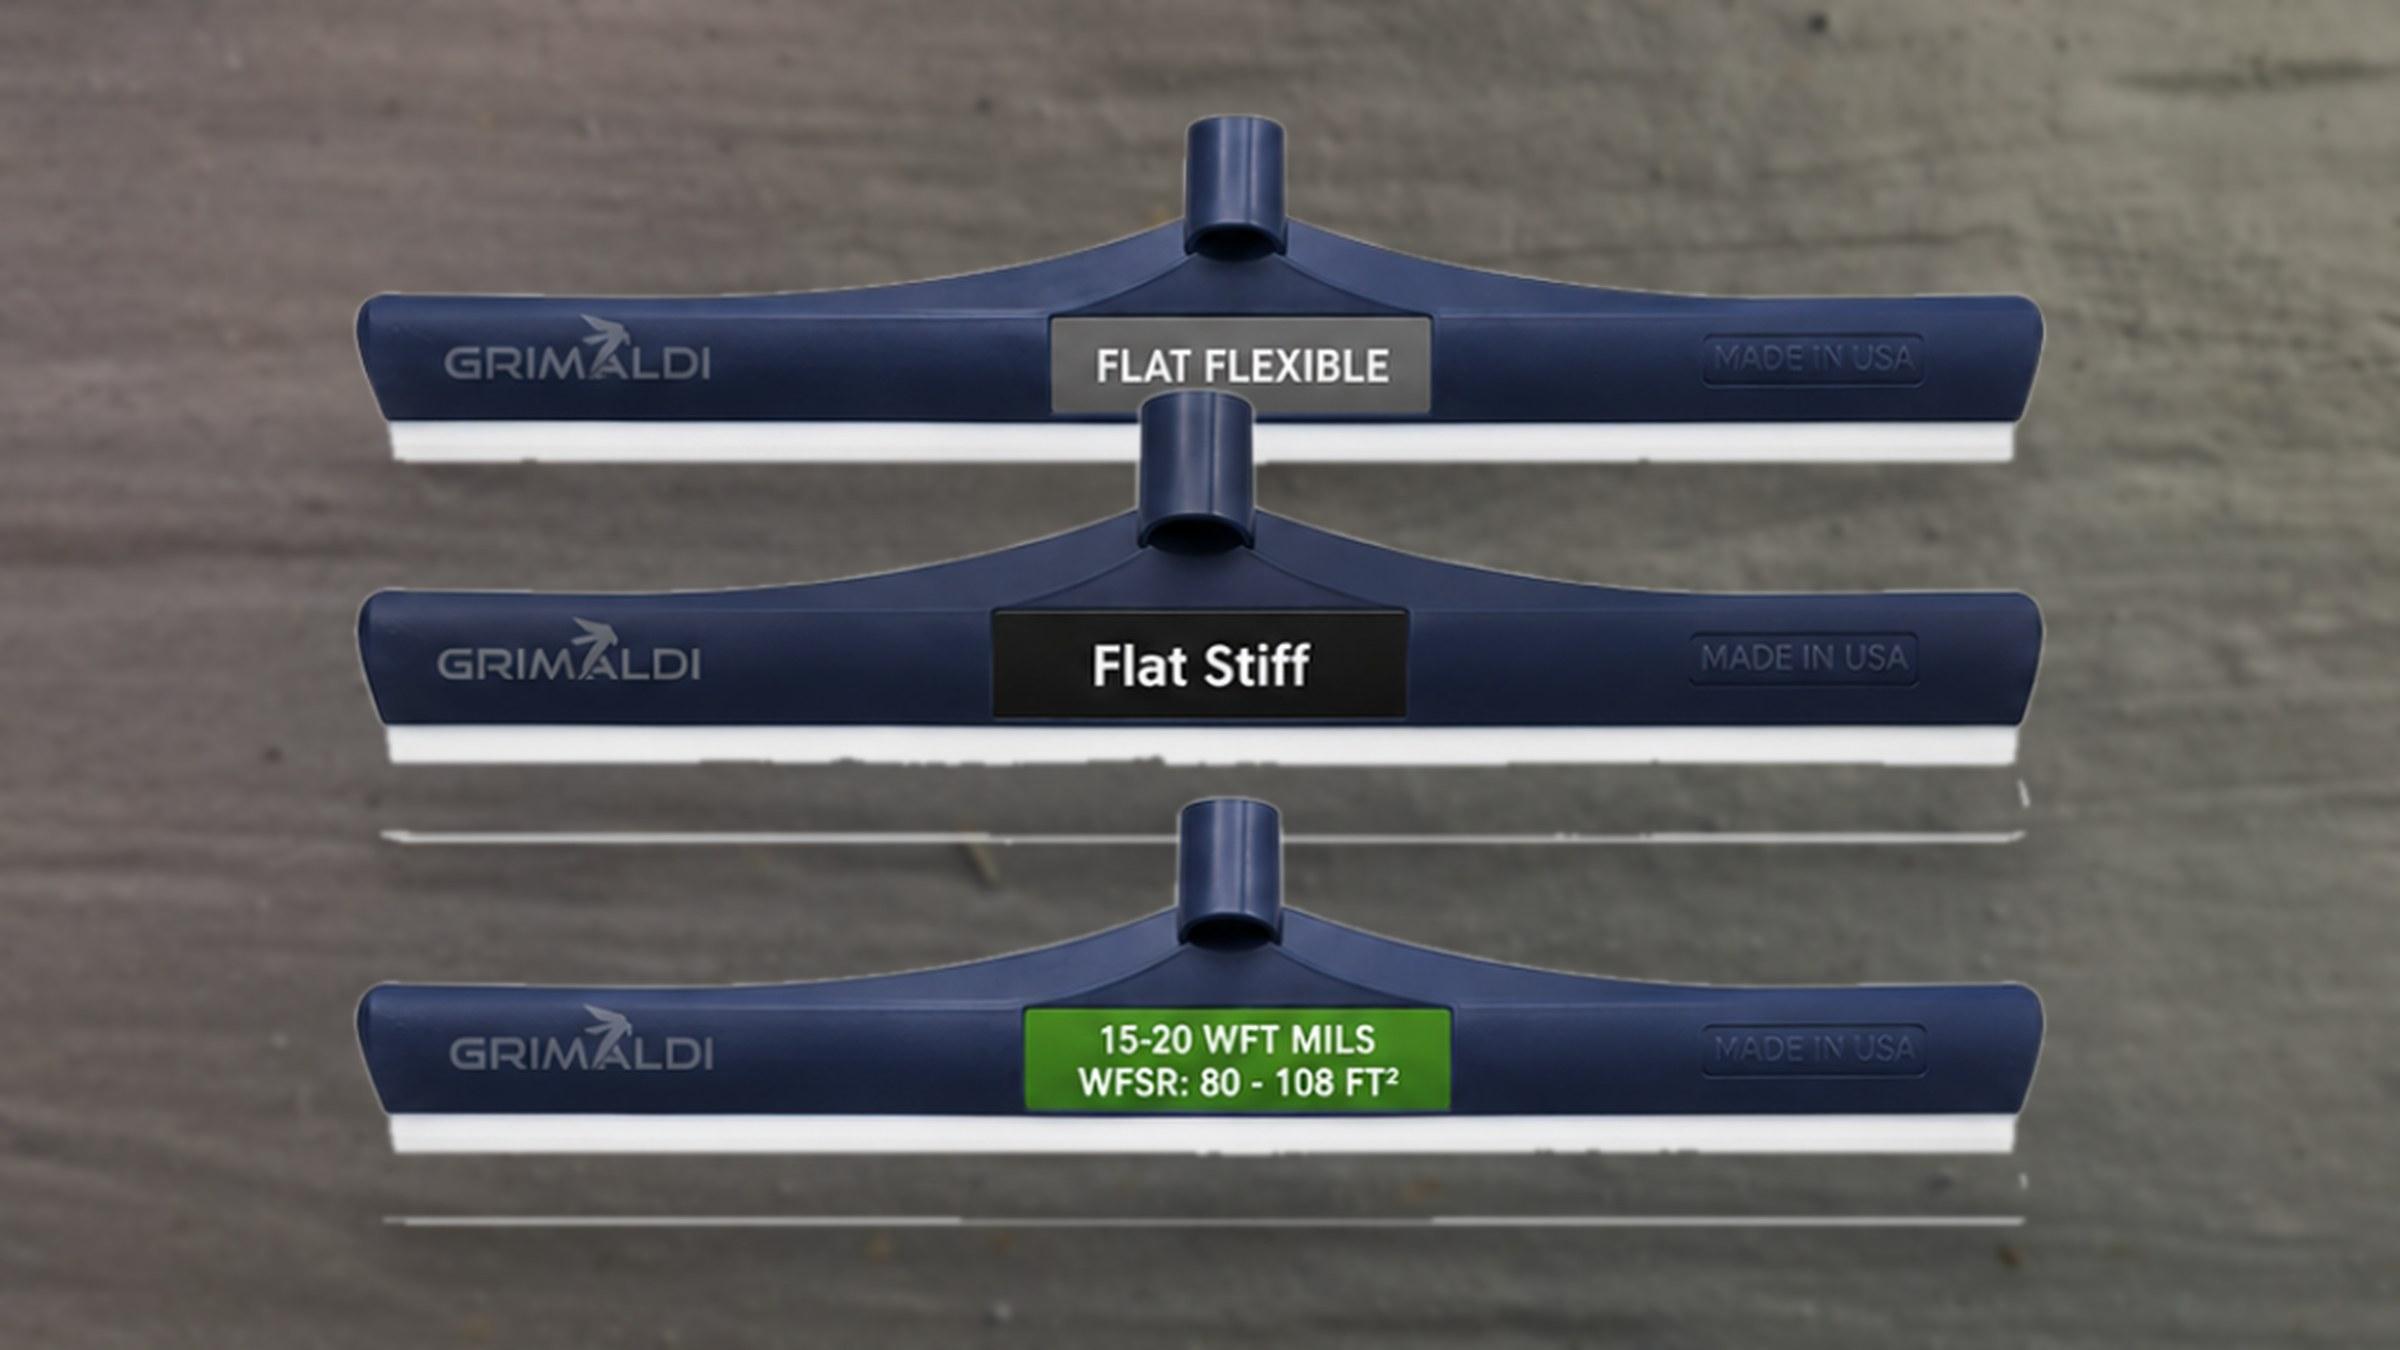
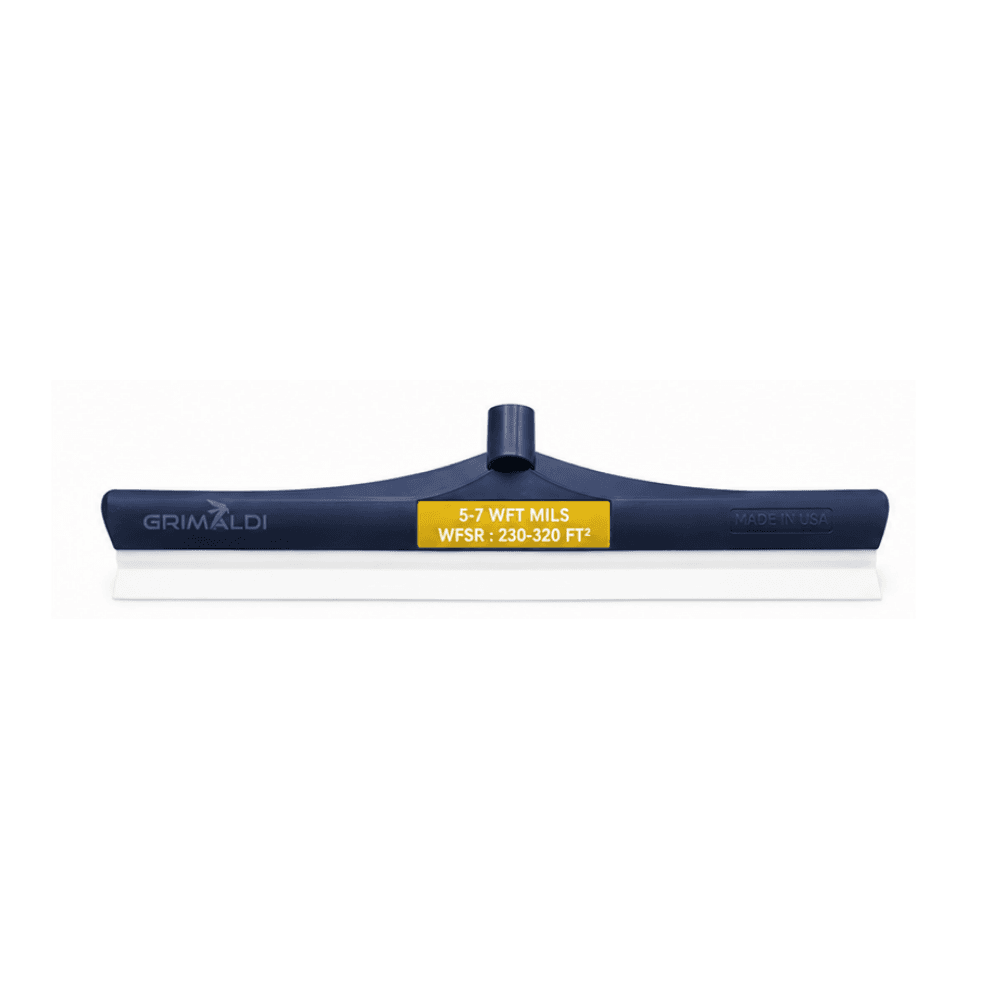
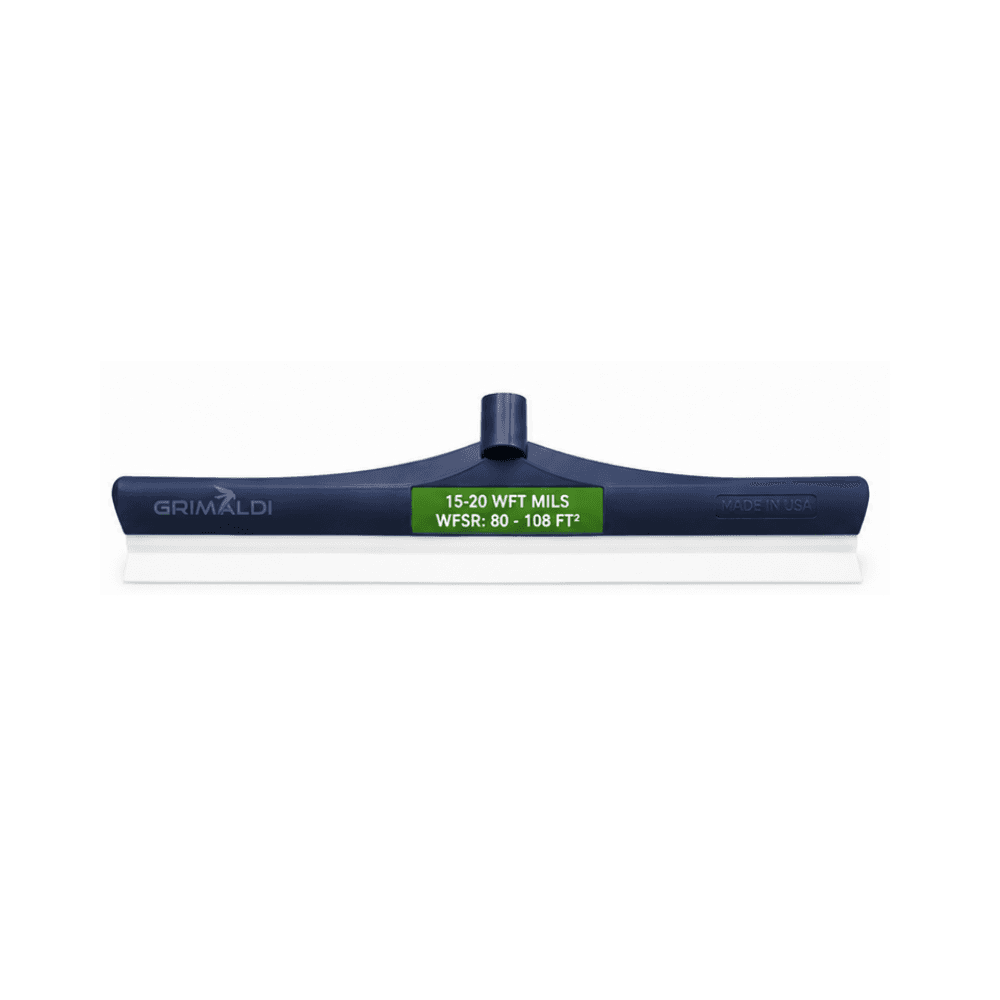
Notched squeegee in the mil range on the data sheet. A 5 to 7 mil suits thin primers; a 15 to 20 mil suits a standard base coat.
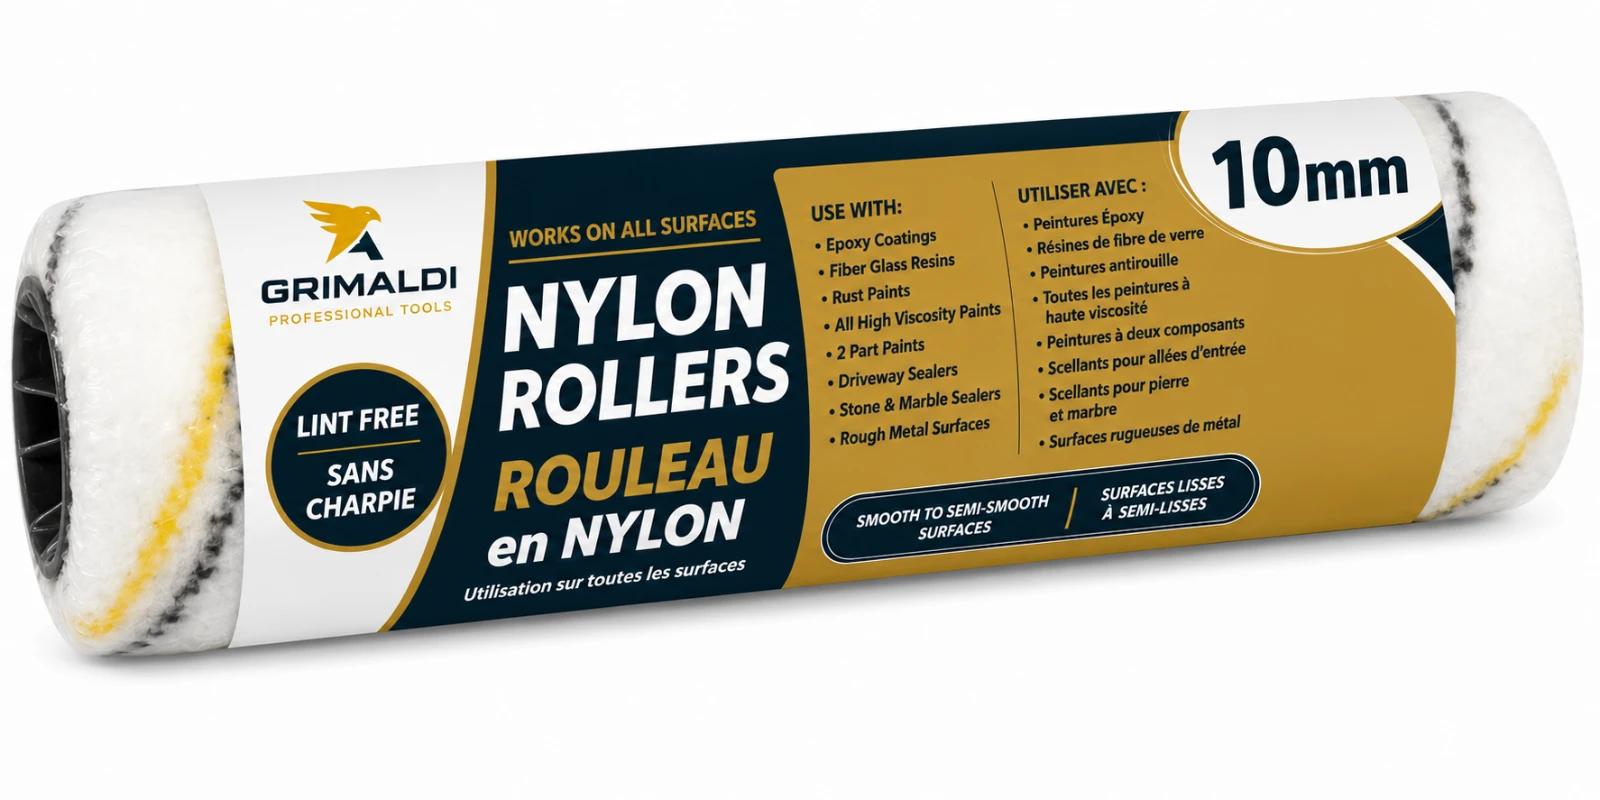
Roller: a lint free 18" nylon epoxy roller to back roll out the notch lines, on a threaded pole. See choosing an epoxy roller cover for nap size.
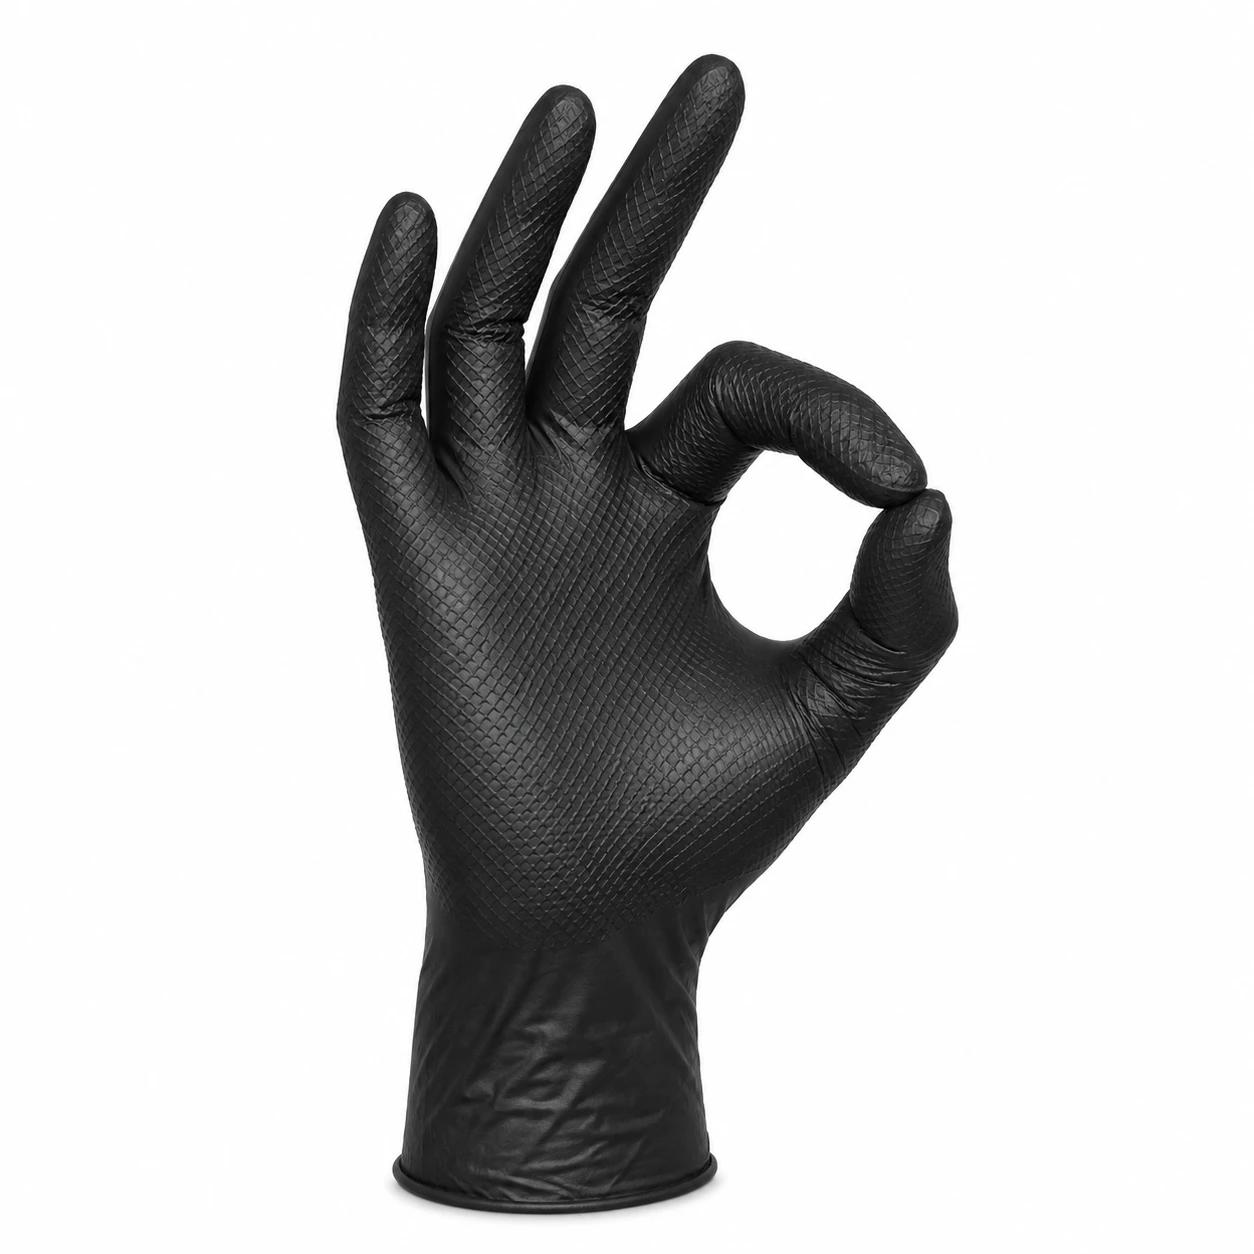
Gloves: chemical resistant, such as 8 mil textured nitrile.
To work out quantities, see epoxy coverage by mil thickness.
4. Broadcast the flake
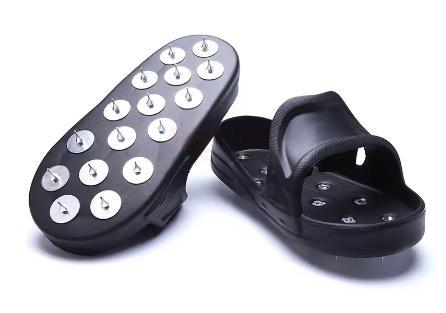
Spiked shoes to walk into the wet coat: Sharp Nail spiked shoes, sized to fit over your boots. See how to use spiked shoes.
Flake, broadcast by hand in a high arc so it lands evenly, to the coverage your system specifies.
5. Scrape the flake and clean after cure
Once the base coat has cured enough to walk on (check the data sheet), scrape off loose flake and knock down high points, then vacuum everything.
Floor scraper (see which floor scraper)
Dust extractor or vacuum
6. Topcoat
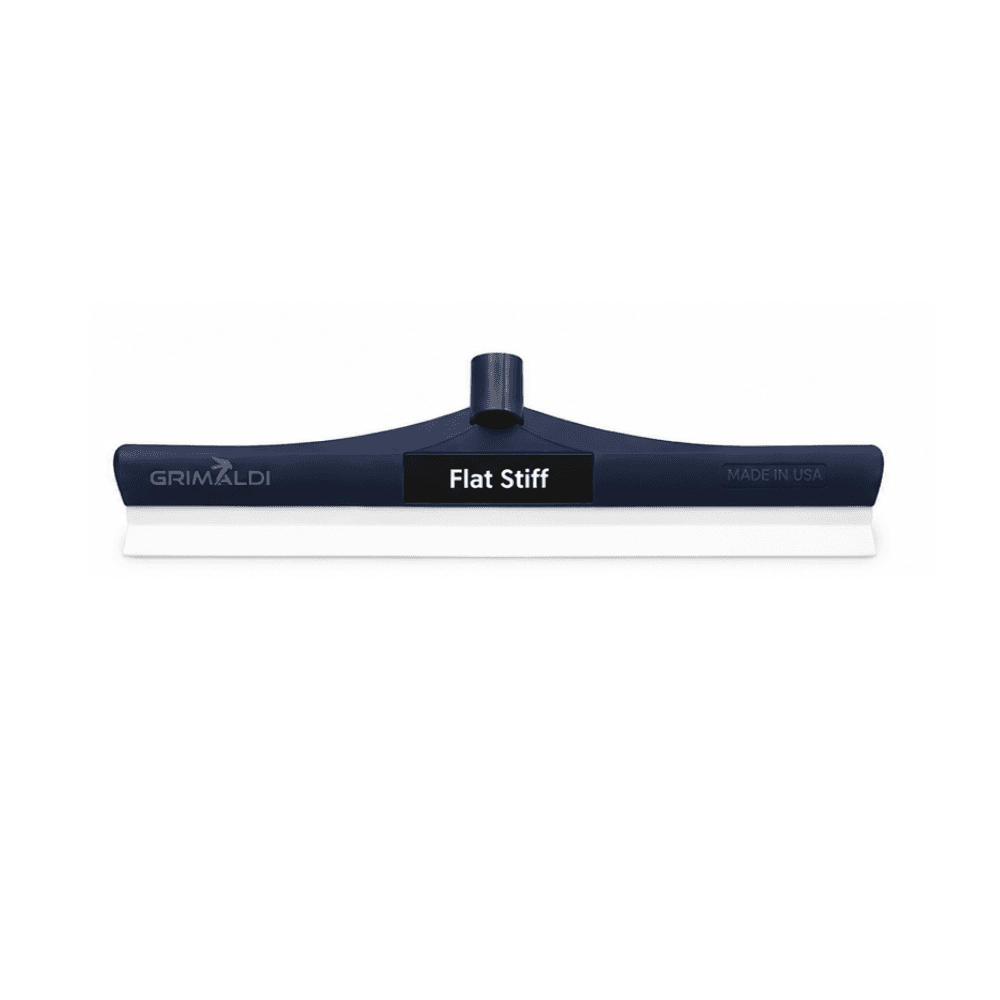
Flat squeegee to spread, such as the flat stiff squeegee, or a notched squeegee if your topcoat has a mil rating. See flat or notched squeegee.
Roller to back roll to an even finish.
Spiked shoes if you need to get back in.
Flake floor tool list at a glance
Angle grinder, dust shroud, diamond cup wheel
Dust extractor with a spare filter
Respirator, eye and hearing protection, chemical resistant gloves
Drill mixer and paddle
Notched squeegees in your system's mil ratings, plus a flat squeegee
18" epoxy roller and threaded pole
Spiked shoes
Floor scraper
Questions contractors ask
What tools do I need for an epoxy flake floor?
A grinder with a shroud and diamond cup wheel, a dust extractor, PPE, a drill mixer, notched and flat squeegees, an 18" roller on a threaded pole, spiked shoes and a floor scraper. The kit list above has the full set.
When do you scrape the flake?
Once the base coat has cured enough to walk on, as the data sheet sets out. Scrape off loose flake, knock down high points, then vacuum.
How much material does a garage floor take?
Work it out from the wet mils on the data sheet. See epoxy coverage by mil thickness for the formula and a two car garage example.