Guide
Epoxy Floor Bubbles, Pinholes and Fisheyes: How to Prevent and Fix Them
Three defects that look alike and come from different places. How to read each one, the checks and habits that stop them before the kit is opened, and the repairs that hold.
· 11 min read
Almost every pinhole and fisheye we get called back to was decided before the first kit was opened. The slab was warming up, the primer was skipped, the mixer was run too fast, or something on the concrete was never found. The good news is that all three defects are preventable, and all three can be repaired properly if you identify them correctly first.
Bubbles, pinholes or fisheyes? Read the defect first
Get a flashlight, hold it flat to the floor and look across the surface. Raking light shows everything.
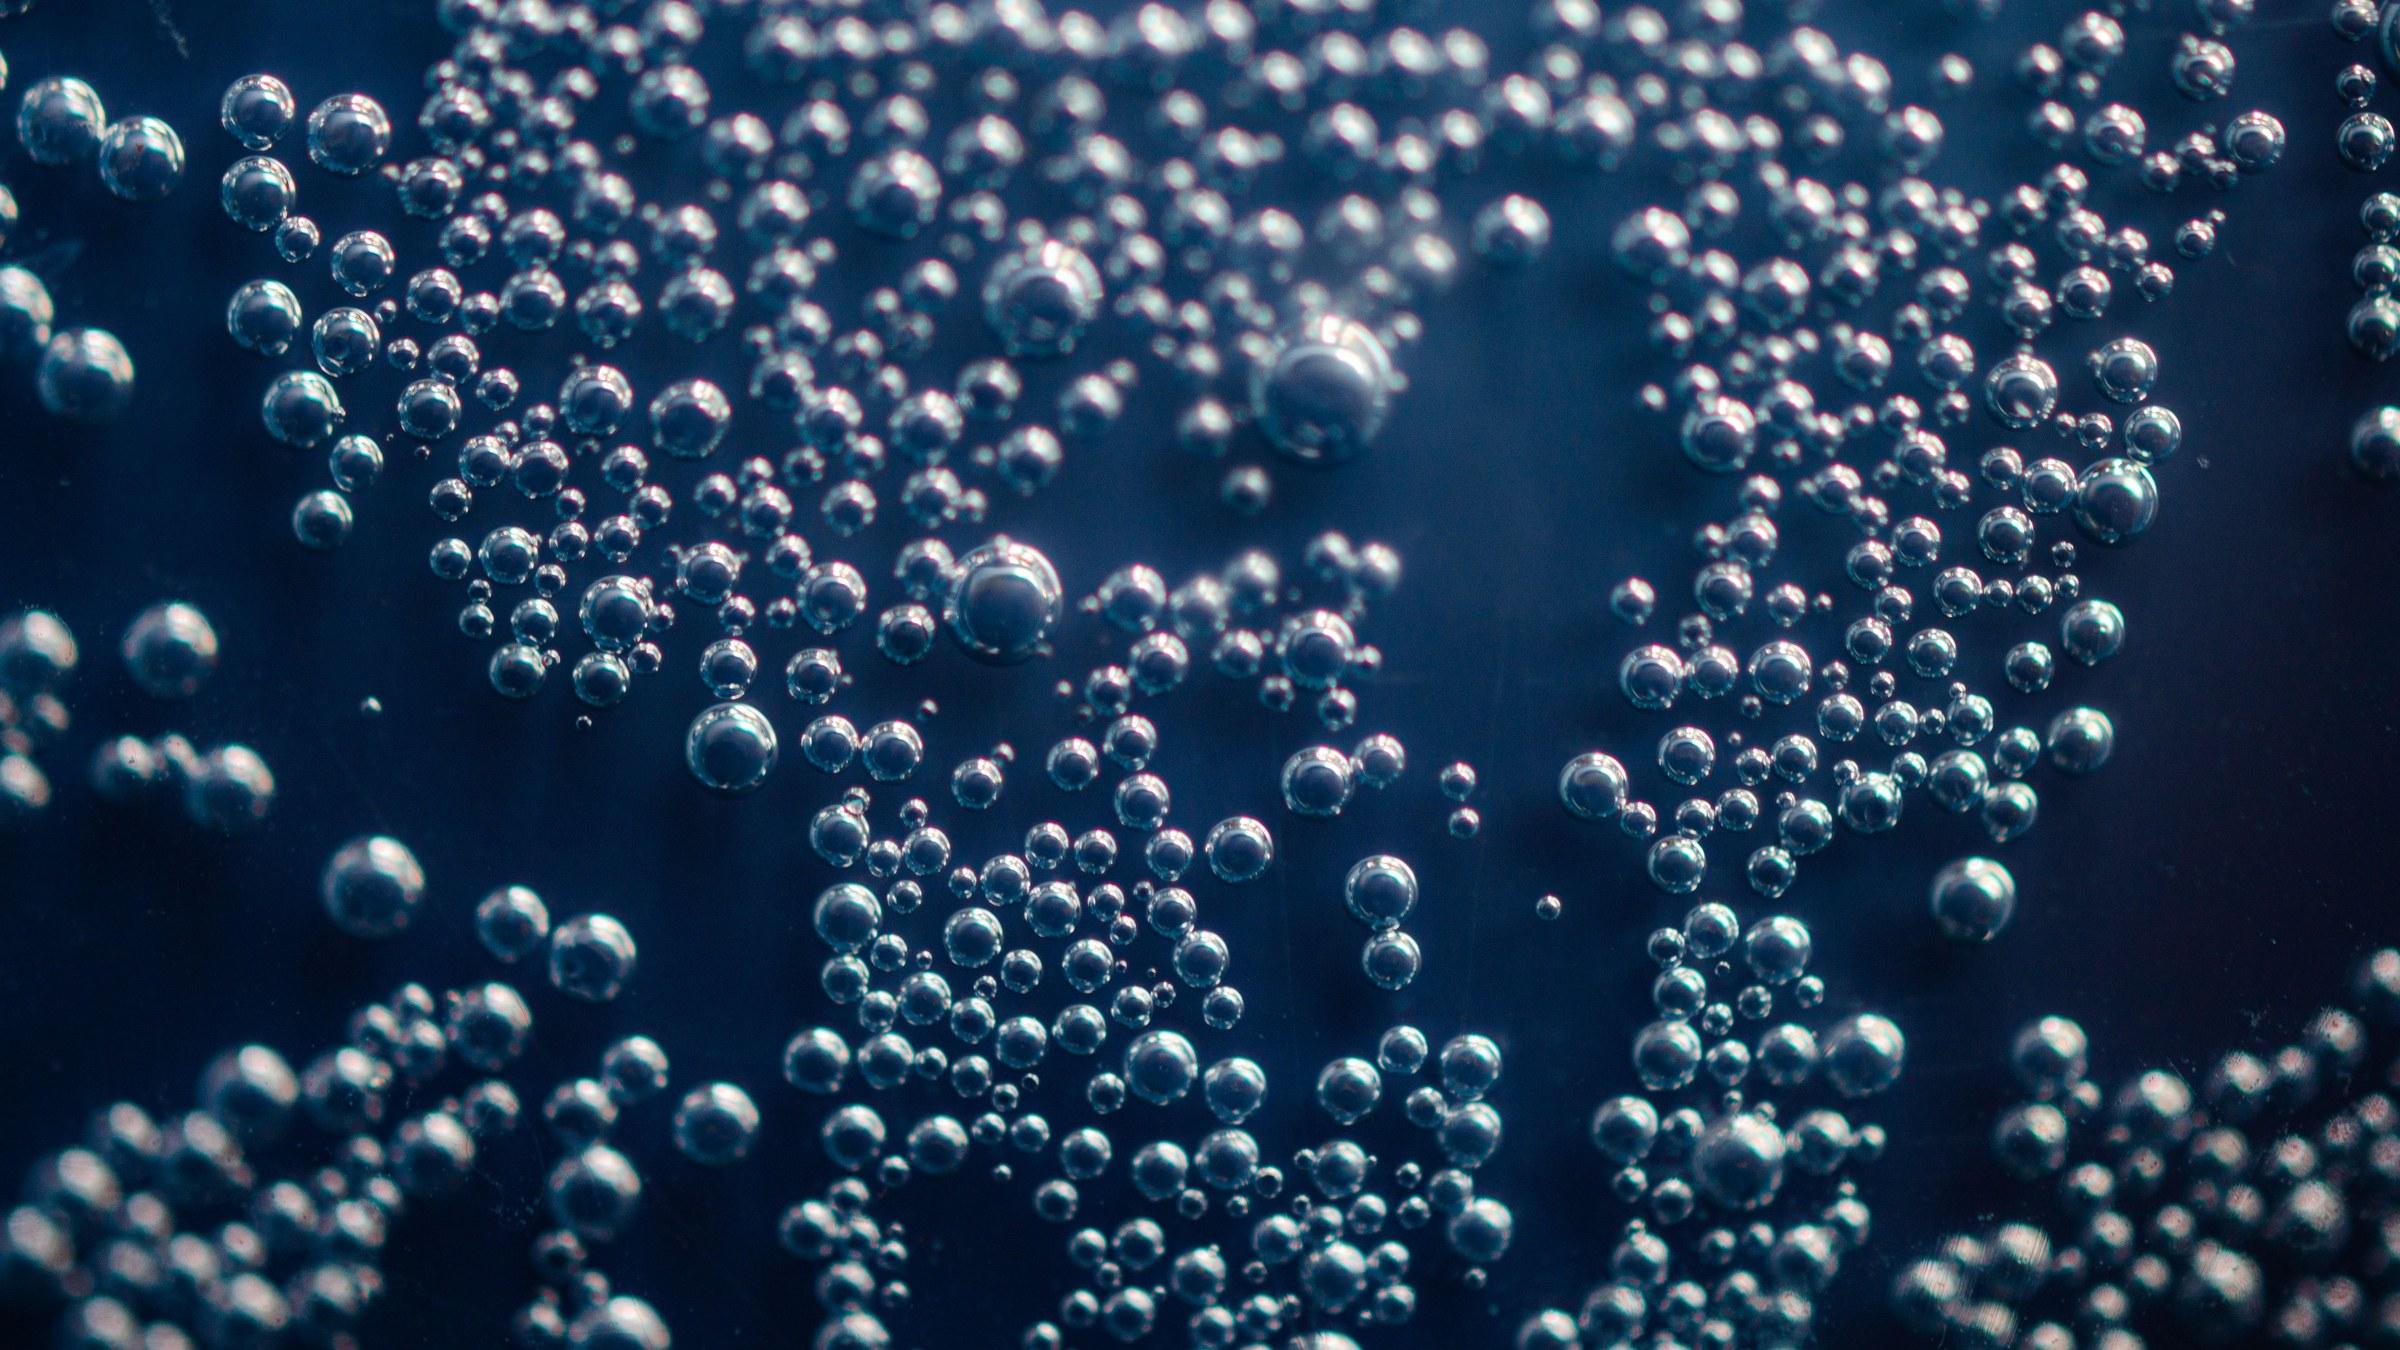
- Outgassing bubbles and pinholes: craters with a tiny hole at the bottom that goes down toward the concrete. They cluster where the slab is most porous: fresh grinding, patched areas, old saw cuts, the area by the overhead door that bakes in the sun. A bubble that popped late leaves a pinhole, because the coat had already started to set and could not flow back in.
- Mixing and rolling bubbles: small, round, fairly even in size, sitting in the top of the coat and spread across the whole pour, including over well primed areas. These are air you put into the material, not air from the slab.
- Fisheyes: the coating pulls away from a spot and leaves a round bare or thin patch with a raised rim, like rain on a waxed hood. That is contamination, every time. Something on the surface has lower surface tension than the epoxy, and the epoxy will not wet it out.
If you cannot tell which you have, cut one open. Scrape a crater with a utility knife: a pinhole that runs down to the substrate is outgassing; a void sitting in the film is trapped mixing air.
Checks before you open a kit
These take ten minutes and save the floor.
- Take the slab temperature, not the air temperature. Use an infrared thermometer on the concrete itself, in several places. A slab by an open door in afternoon sun can run far hotter than the shop air. Most systems want the slab at or above 10°C (50°F); your data sheet sets the number.
- Check the dew point. Measure air temperature and relative humidity, work out the dew point, and do not coat unless the slab is at least 3°C (5°F) above it. A cooling slab can pull condensation onto the surface that you will never see, and moisture under a fresh coat means bubbles, blush and poor bond.
- Know which way the slab temperature is heading. Rising slab temperature is what drives outgassing. Coat when the slab is steady or falling: late afternoon into evening, or in a building where the heat has been running for a day. Never start a primer coat on a sun-heated slab at its peak, and do not fire up a heater under a fresh coat.
- Screen for moisture. Tape a 450 mm (18") square of clear poly to the slab with all four edges sealed and leave it 16 to 24 hours. Darkened concrete or droplets under the plastic means stop and test properly. The plastic test only screens; an in-slab relative humidity probe (ASTM F2170) or a calcium chloride test (ASTM F1869) tells you whether the slab is within your coating's limit or needs a moisture mitigation primer. A standard primer is not a vapour barrier.
- Do the water drop test. Flick water onto the bare, prepped concrete in a dozen spots, especially in a garage where cars have parked. It should darken the concrete and soak in within a minute or so. Water that beads and sits there is telling you the surface is sealed or contaminated, and the coating will fisheye in exactly that spot.
Why epoxy bubbles on concrete, and the prep that stops it
Outgassing is air leaving the pores of the concrete. You cannot stop concrete from having pores, so the job is to fill and seal them before the build coat goes down.
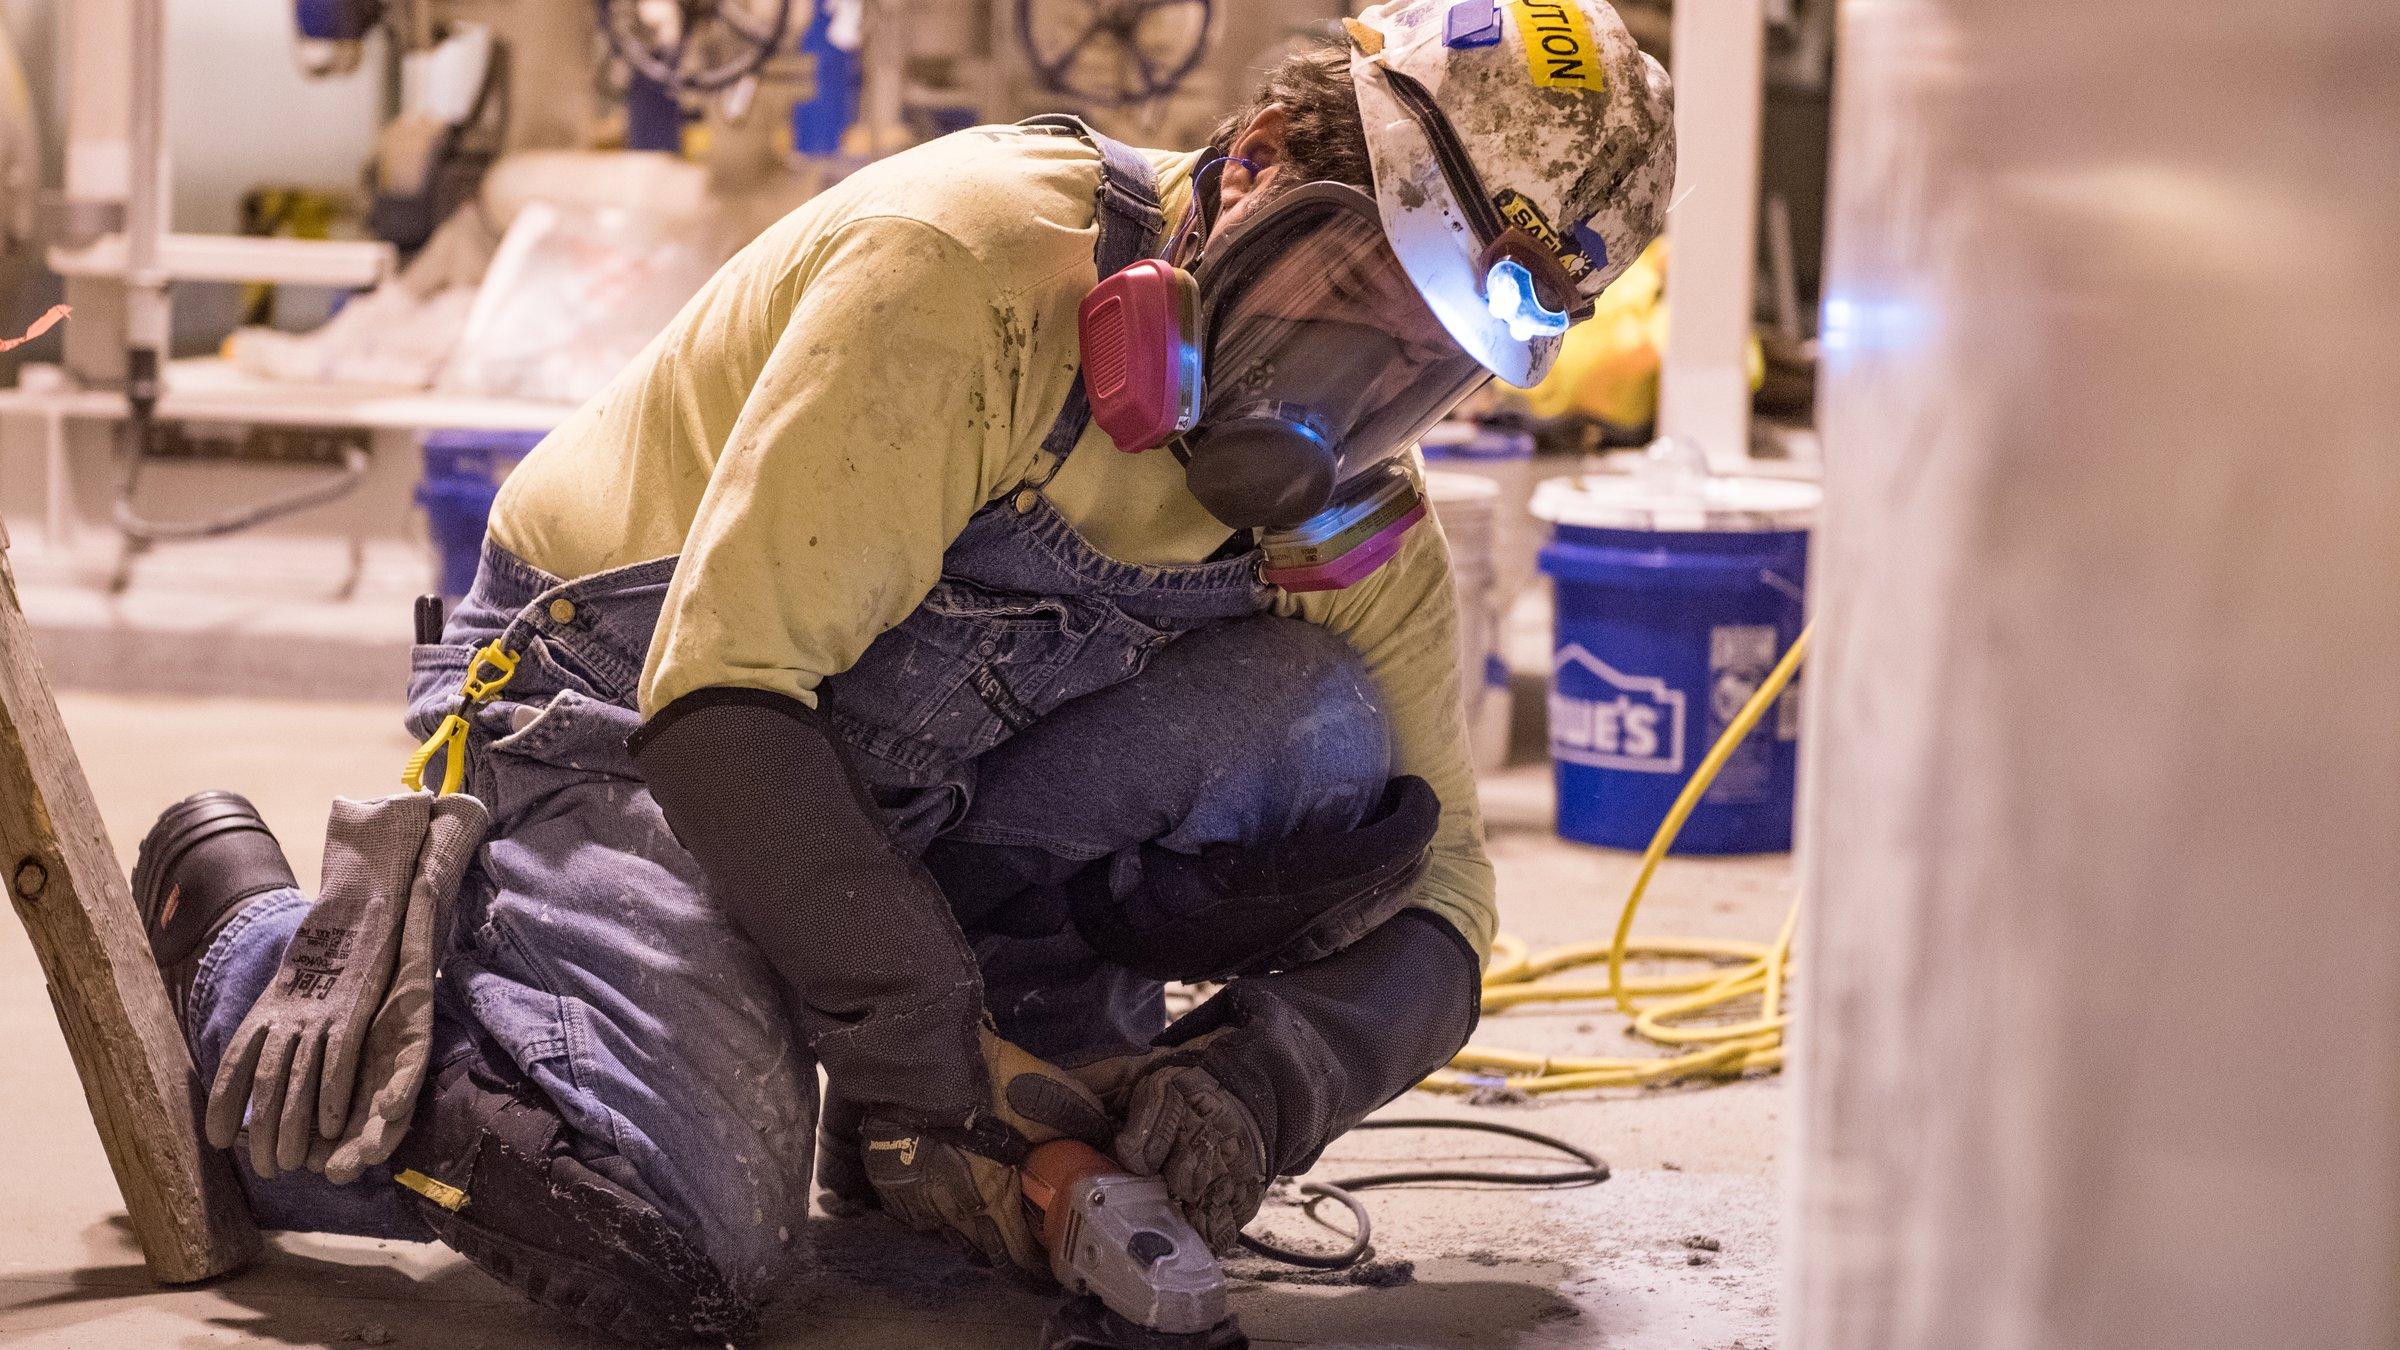
- Grind, do not just etch. A diamond grind to a concrete surface profile of CSP 2 to 3 suits most thin and medium build coatings. It removes laitance, old sealers and contamination that acid etching leaves behind. A 5" super soft bond cup cuts hard, dense slabs without glazing; a medium bond suits average concrete. Our cup wheel guide covers bond and grit.
- Open up and fill the bug holes. Grinding exposes air pockets just under the surface. Every one you leave open is a pinhole waiting to happen. Fill them, along with cracks and old saw cuts, with a compatible epoxy patch before priming.
- Vacuum, then vacuum again. Use an extractor such as the GX300 with a floor tool, not a broom or a leaf blower. Dust left in the pores traps air and stops the primer from penetrating.
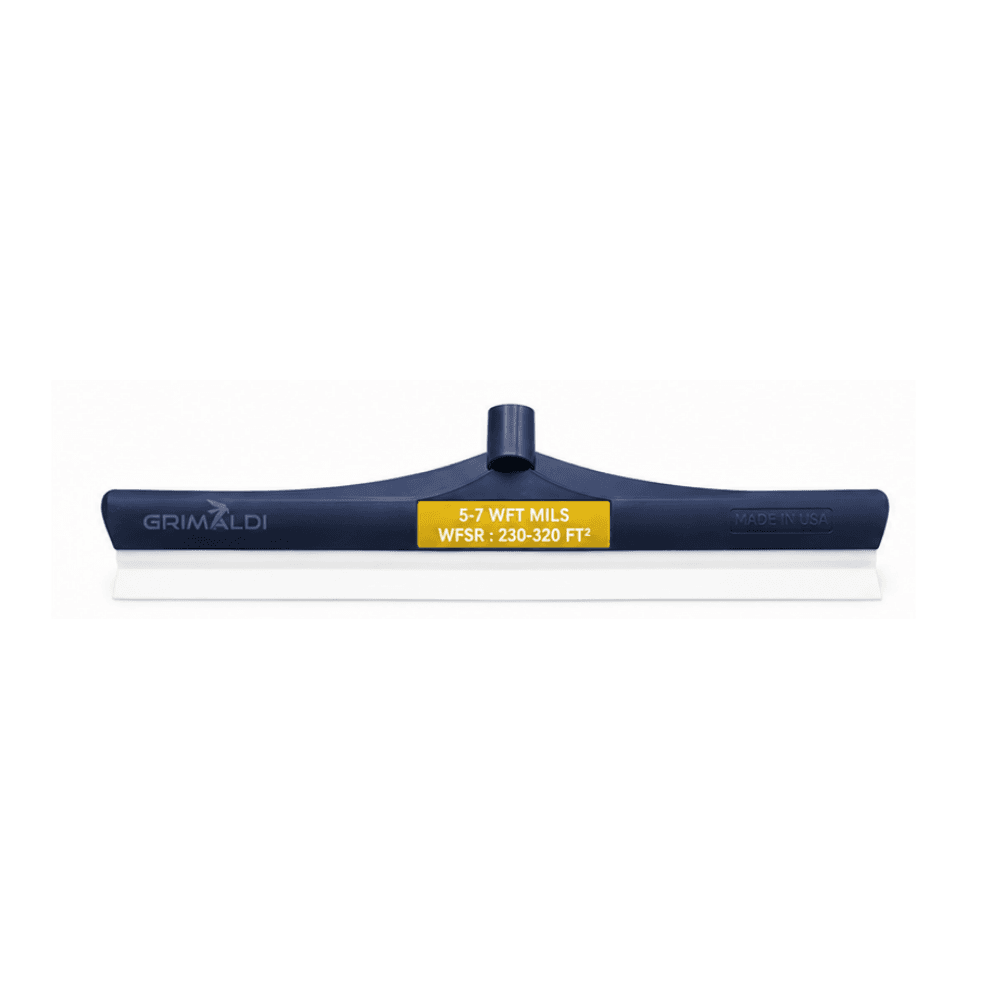
- Prime, and make the primer work. Apply a low viscosity primer thin and work it into the surface so it soaks into the pores rather than bridging over them. Pull it tight with a 5 to 7 mil squeegee and back roll. A thin primer lets air escape and heal over; a thick one traps it.
- Do a pinhole check on the primer. Once the primer is tack free, walk it with a flashlight at floor level. If you still see pinholes, that slab is too porous for one coat: apply a second primer coat, or a scratch coat, before any build coat goes on. Finding pinholes in the primer costs you an hour. Finding them in the topcoat costs you the floor.
- Use a scratch coat on rough or heavily patched slabs. Mix neat resin, or resin filled with fine silica per the system, and pull it hard across the surface with a flat stiff squeegee, leaving material only in the pores and low spots. It fills what the primer could not.
Bubbles you put in yourself
- Bring the material to room temperature. Cold resin is thick, and thick resin holds air. Store kits in a heated space for a full day before the job, never on a cold slab.
- Mix slow. Use a drill mixer at low speed, roughly 300 to 450 rpm, with the paddle kept below the surface. Mix for the time on the data sheet, usually two to three minutes, scraping the sides and bottom of the pail. If you see a vortex, you are whipping in air.
- Get it out of the pail. Mixed epoxy in a pail builds heat fast, which shortens your working time and can make it foam. Pour it onto the floor in a ribbon right away and spread it.
- Do not scrape the pail onto the floor. The material stuck to the walls is the worst mixed in the batch. Scraping it out leaves soft, tacky spots.
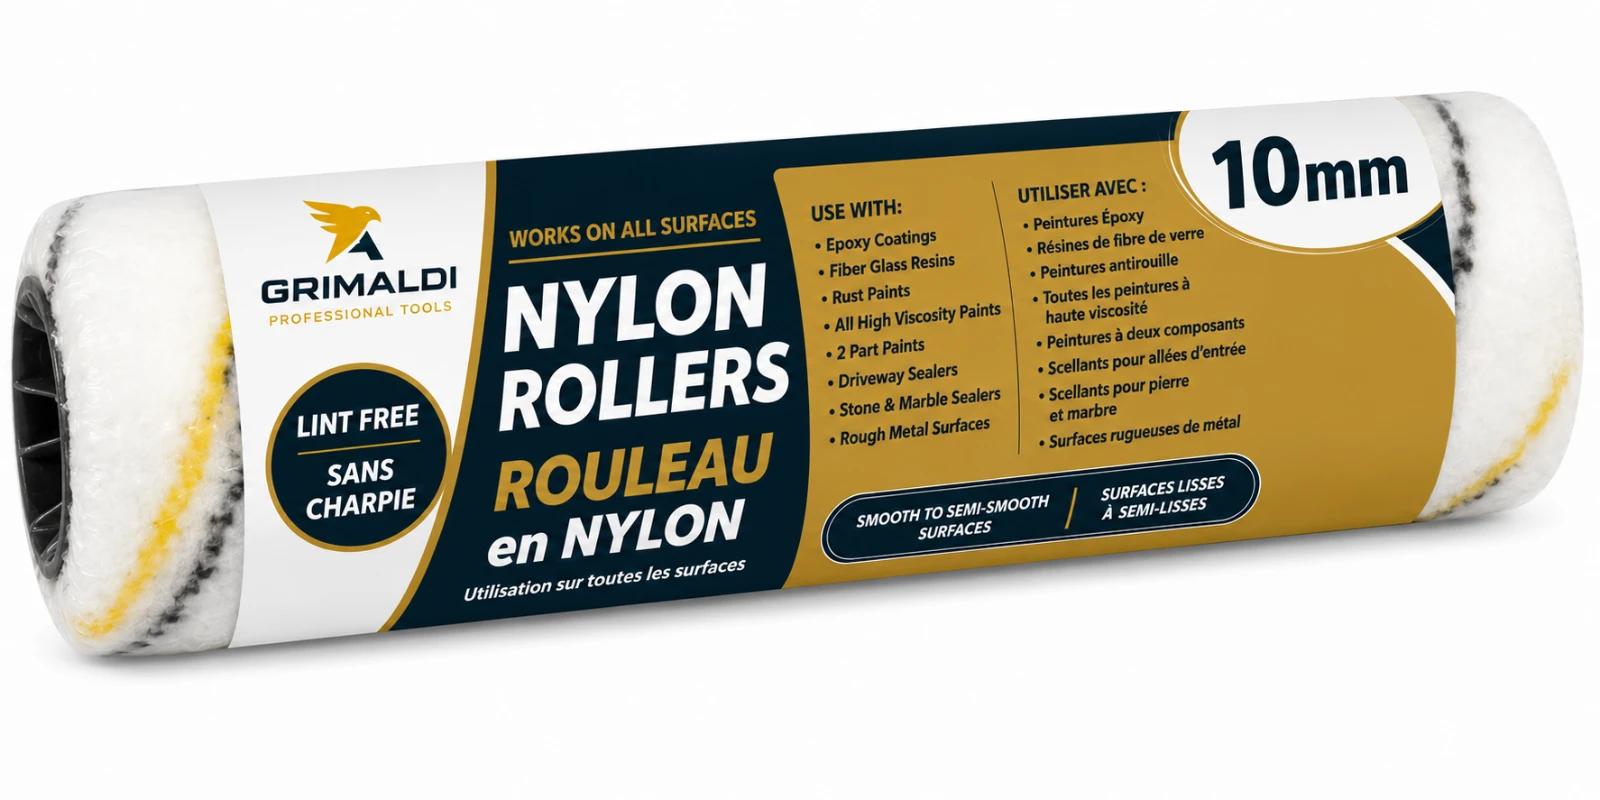
- Use the right roller. A lint free 18" nylon epoxy roller in the nap your coating calls for. Back roll in one direction with light pressure, and stop rolling once the coat starts to tack up. Rolling a coat that is starting to gel drags air in.
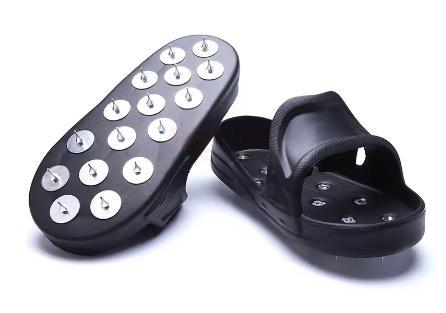
- Spike roll inside the window. On self levelling and thick build coats, run a spiked roller over the coat within the first 10 to 15 minutes, or whatever the data sheet gives you, to break the bubbles while the material can still flow back. Put on spiked shoes to walk the wet floor; our spiked shoe guide covers technique.
- A heat gun on a clear coat. On a 100% solids clear or self levelling coat, a quick, light pass with a heat gun a few inches off the surface thins the skin and pops surface bubbles. Keep it moving, never let it dwell, and never use heat or open flame near solvent based materials or their vapours.
Fisheyes: find the source, or they come back
Recoating over a fisheye without removing the contamination gives you the same fisheye in the new coat. Common sources:
- Oil, brake fluid and tire dressing in garages, which soak in well below the surface
- Silicone, from caulking, spray lubricants, mould release or furniture polish
- Old sealers, waxes and curing compounds left on the slab
- Hand cream, sunscreen and silicone based lotions on the crew
- Tack cloths, shop rags washed with fabric softener, and dirty boots
What works:
- Degrease, then grind. Scrub oil stains with a strong alkaline degreaser, rinse and let it dry, then grind through the stained layer. Grinding alone smears oil around; degreasing alone leaves it in the pores. Do not acid etch an oily or siliconed slab. It spreads the contamination and does not remove it.
- Check with the water drop test again. Do not prime until water soaks in everywhere.
- Solvent wipe the right way. Wipe with acetone or the solvent your system calls for using plain white paper towels, folded and turned often, and dry with fresh towels. Never use a shop rag; it puts back whatever it picked up. Skip tack cloths entirely.
- Run a clean crew. No silicone sprays in the building on coating day. No hand cream. Clean or covered boots on the slab. Keep every pail, squeegee and roller frame that touched silicone off the job.
How to fix bubbles, pinholes and fisheyes
- Bubbles in a wet coat: spike roll them out while the coat still flows. Late surface bubbles in a clear coat can take a light heat gun pass.
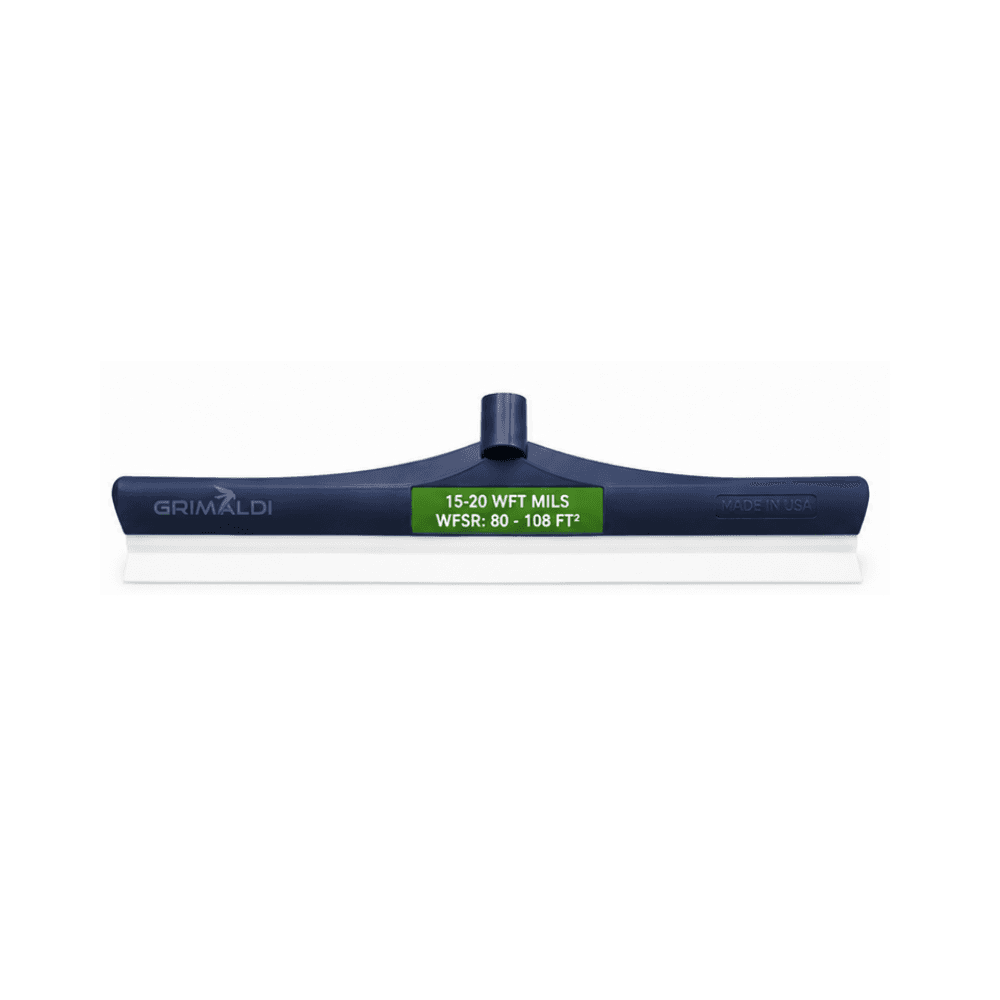
- Pinholes in a cured coat: sand the area dull, vacuum, and solvent wipe. Fill the pinholes with neat resin pulled tight with a flat squeegee, so the resin goes into the holes and not on top of them. Then put down a full coat at the thickness your system calls for, such as a body coat with the 15 to 20 mil squeegee. A thin topcoat on its own bridges over pinholes and they come straight back through.
- Fisheyes, wet: dabbing material back into a fresh fisheye sometimes covers it, but the contamination is still there under the coat. On anything that matters, let it cure and repair it properly.
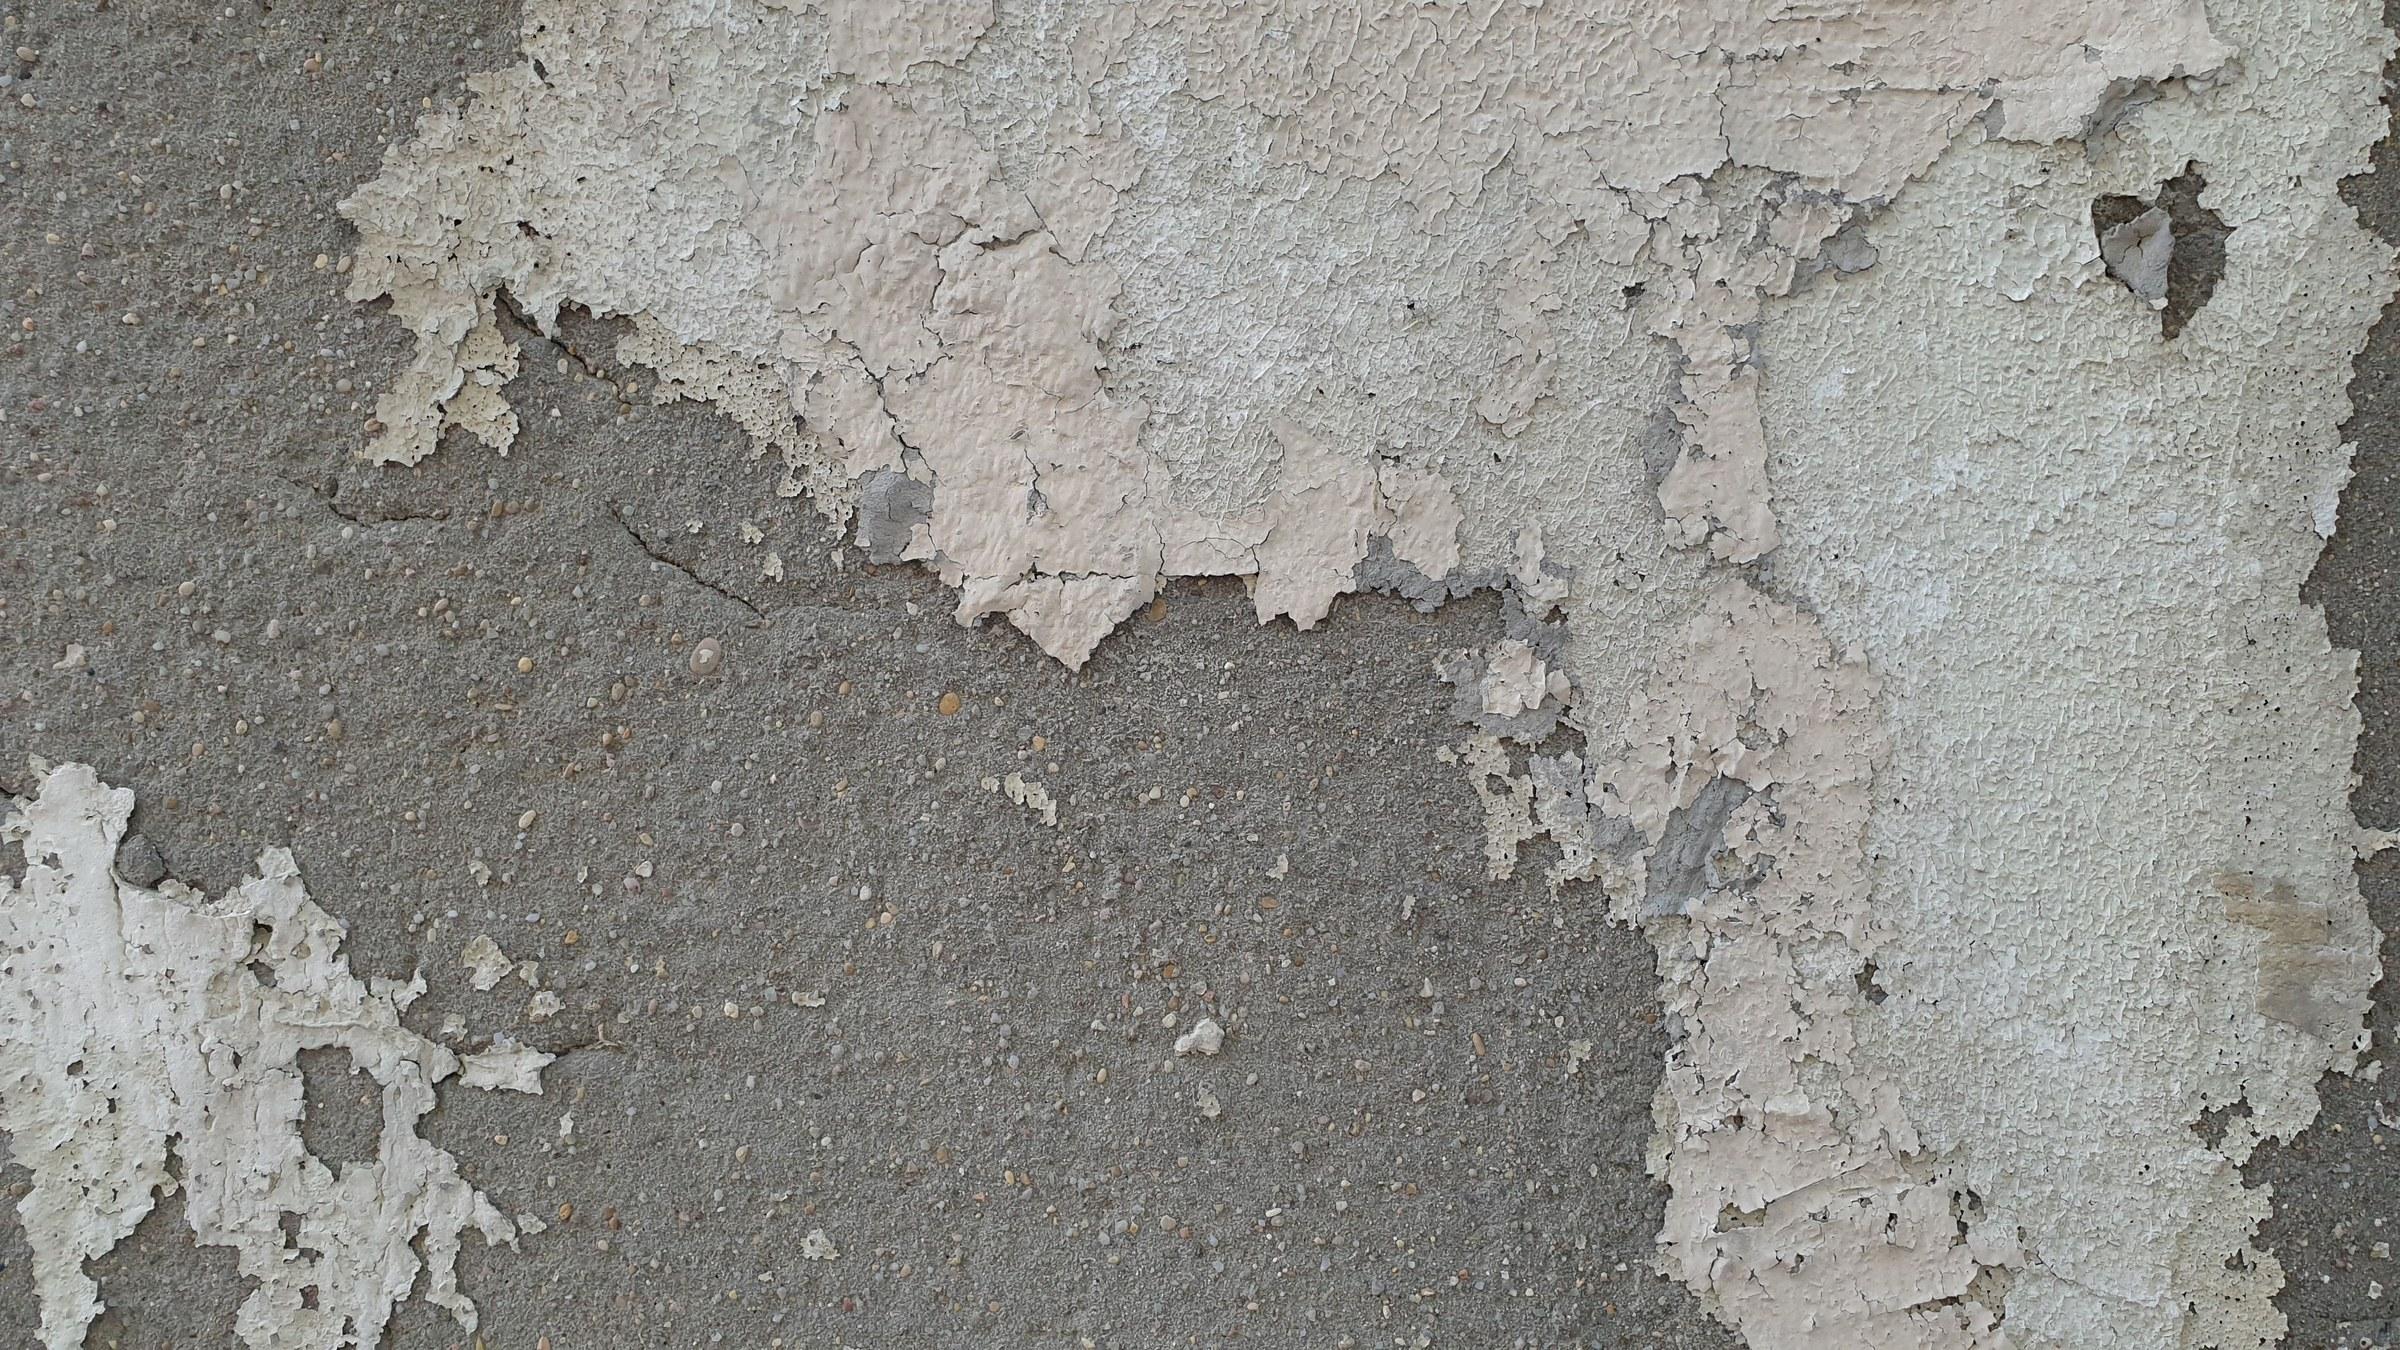
- Fisheyes, cured: grind or sand out each spot past the contamination, degrease, solvent wipe, check with the water drop test, spot prime, then recoat the area.
- A greasy or cloudy film on the coat: that is amine blush, from cold or humid curing conditions, and it will make the next coat crawl and fisheye. Wash it off with warm water and a scrub pad, rinse, let it dry completely, and only then sand. Sanding first just spreads it.
- Recoating after the window has closed: once the previous coat is past its recoat window, the next coat will not bond chemically. Sand the whole surface dull, vacuum and wipe, so the new coat has something to grip.
- Widespread blistering or lifting: stop. That is not a pinhole problem; it is moisture, contamination or failed prep, and another coat will not fix it. Find the cause first.
Questions contractors ask
What causes bubbles in a new epoxy floor?
Air leaving the concrete as the slab warms up, which is outgassing, or air mixed into the material by a fast mixer or late rolling. Craters with a hole running down to the slab are outgassing. Small, even bubbles in the top of the coat are mixing air.
Will a topcoat fill pinholes?
Not on its own. A thin coat bridges over the holes and they come back through. Sand the coat dull, fill the pinholes with neat resin pulled tight with a flat squeegee, then put down a full coat at your system's thickness.
What causes fisheyes in epoxy?
Contamination the epoxy cannot wet: oil, silicone, wax, old sealer, hand cream, a dirty rag. Degrease, grind past it, and check with a water drop test before you prime, or the fisheyes come back in the next coat.
When should I coat to avoid outgassing?
When the slab temperature is steady or falling, and at least 3°C (5°F) above the dew point. Late afternoon into evening is usually best. Never on a slab that is heating up in the sun.
Can I recoat epoxy the next day?
Inside the recoat window on the data sheet, usually yes, once you have checked for and washed off any blush. Past the window, sand the whole surface dull before the next coat, or it will not bond.
Habits from the field
- Coat on a falling or steady slab temperature and keep the building steady until the coat has cured.
- Check the primer for pinholes before you commit to the build coat. Every time.
- Close the overhead door and keep sun off the slab on coating day.
- Mix small enough batches that you can pour and spread each one within its pot life.
- Keep a written log of slab temperature, dew point, humidity, batch numbers and times. When a floor goes wrong, it tells you why.
Every system is different. The coating maker's data sheet sets the slab temperature range, dew point margin, moisture limit, recoat window and prep between coats. Read it before the job, not after the callback. For how much material each coat takes, see our coverage by mil thickness guide, and for cold weather jobs see our winter cure tips.