Guide
Laying an Epoxy Body Coat with a Notched Squeegee: A Step-by-Step Checklist
The notch sets the film thickness, not your arm. Pick the right mil rating, pour, pull, back-roll and walk it without leaving a mark.
· 3 min read
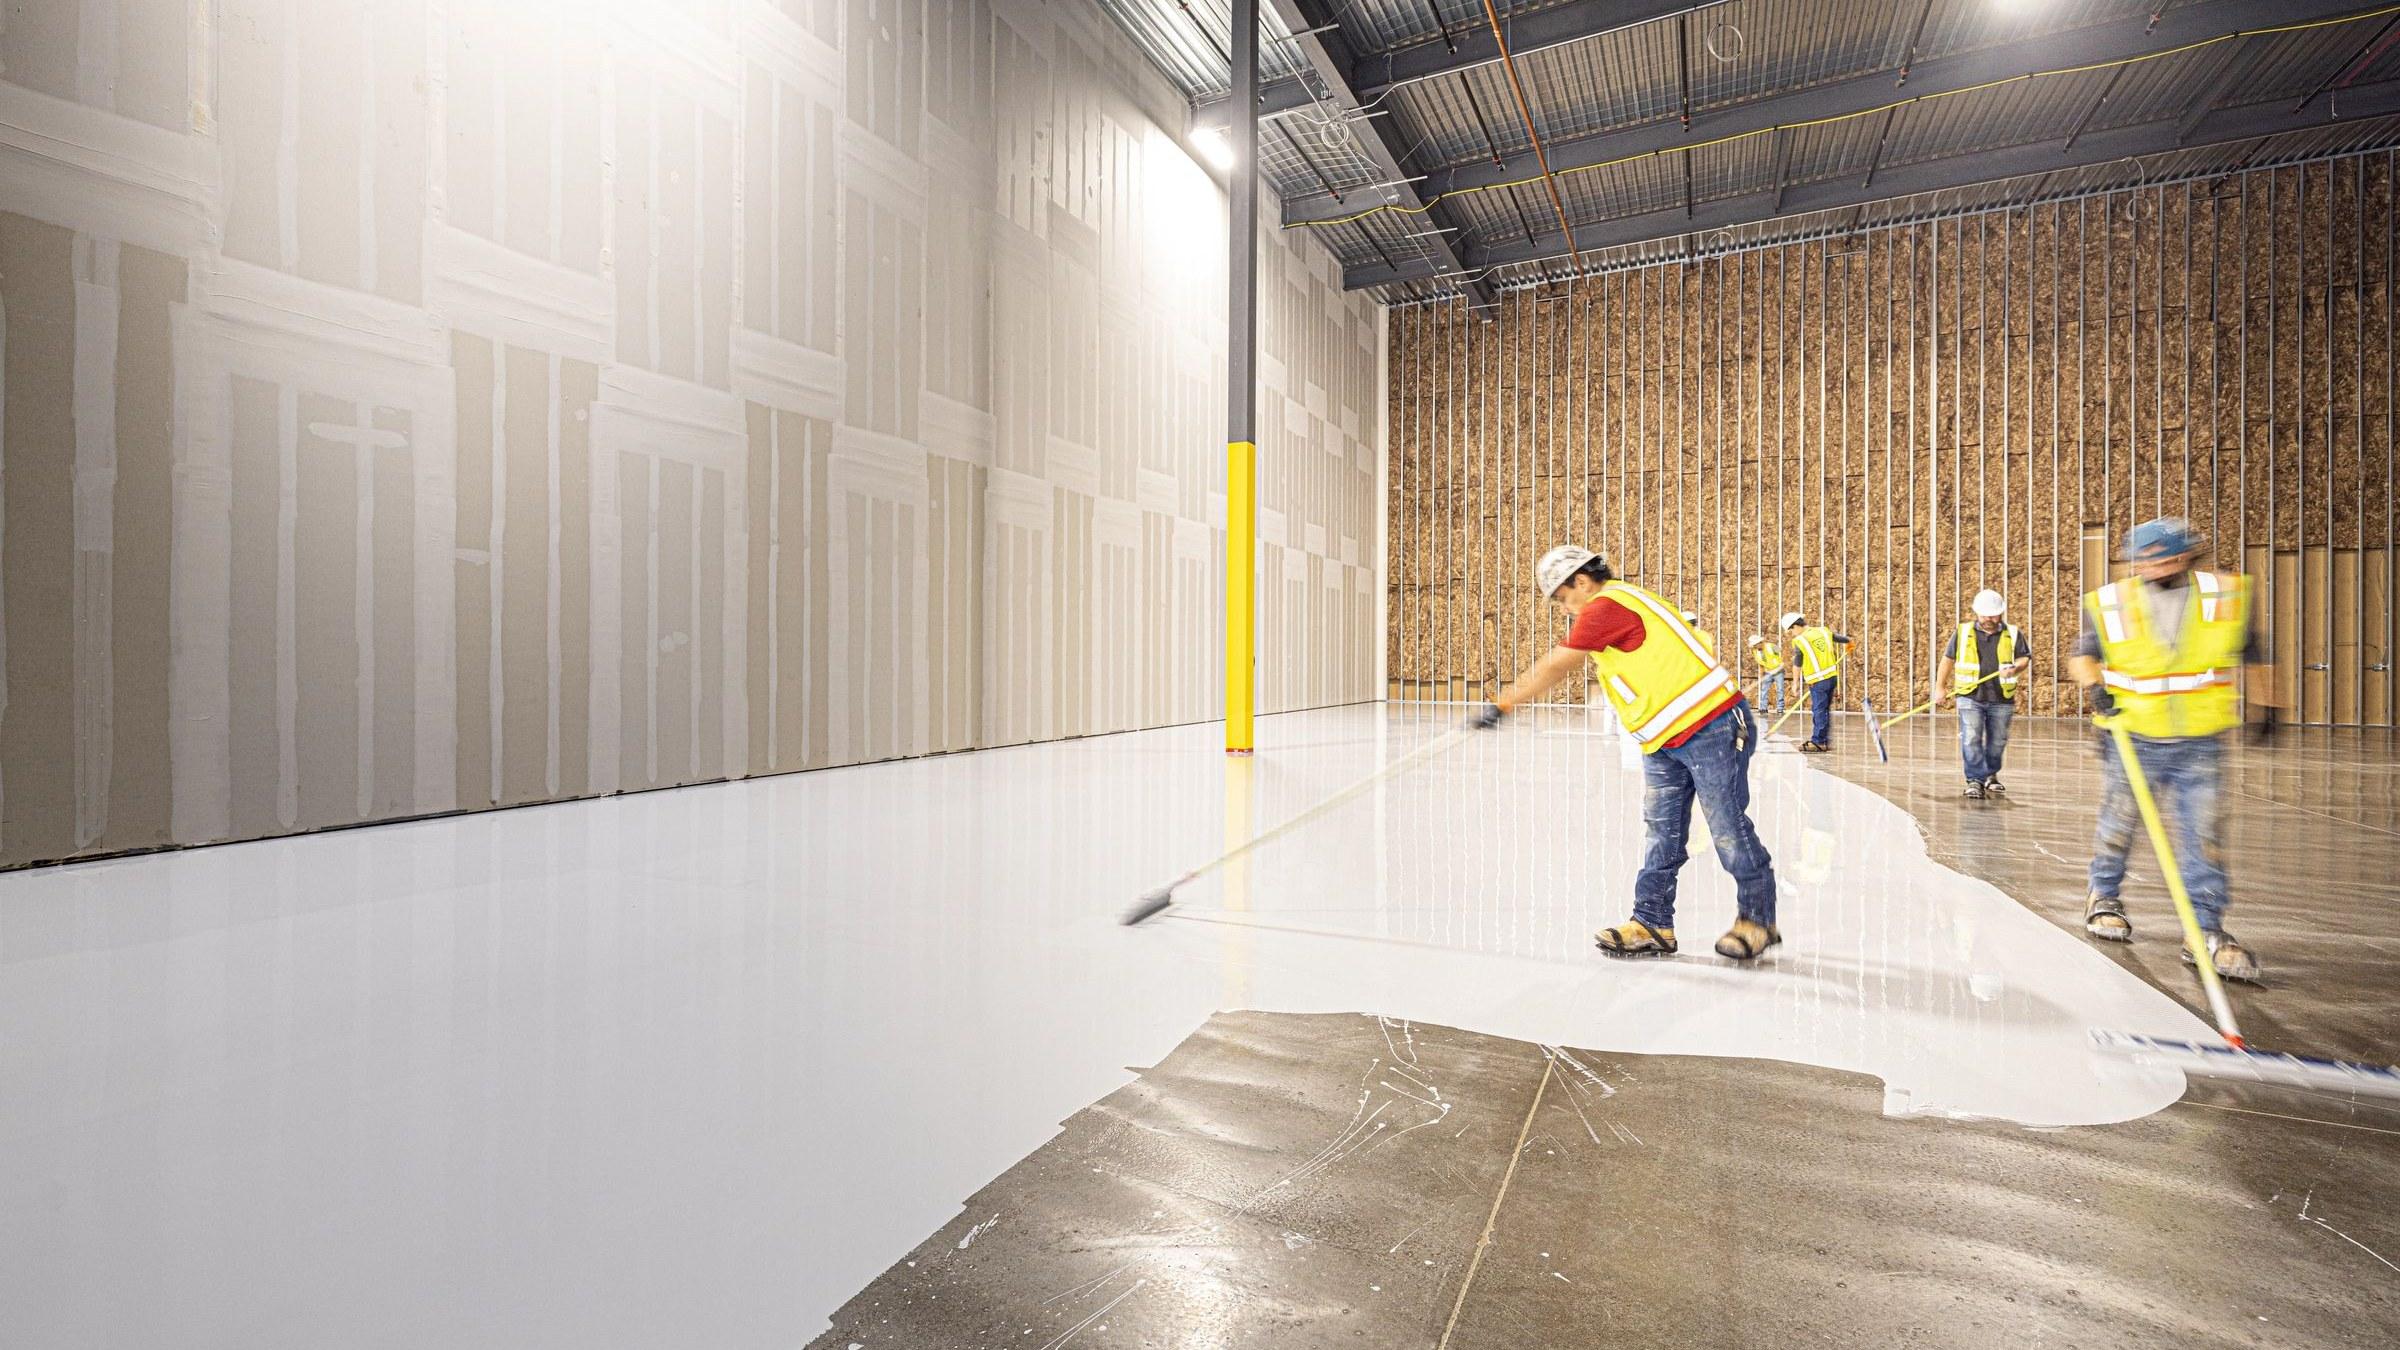
On a resinous floor, film thickness is the whole job. Too thin and the coating wears through early or will not hold a broadcast. Too thick and you waste material and risk curing problems. A notched squeegee meters the wet film for you, so the coating goes down evenly no matter how hard you push.
Here is the order of work for a squeegee-applied body coat.
1. Read the data sheet first
Every coating lists the wet film thickness (WFT) it needs, in mils. That number picks your squeegee. Do not guess, and do not use the same squeegee for every product.
2. Match the notch to the mil rating
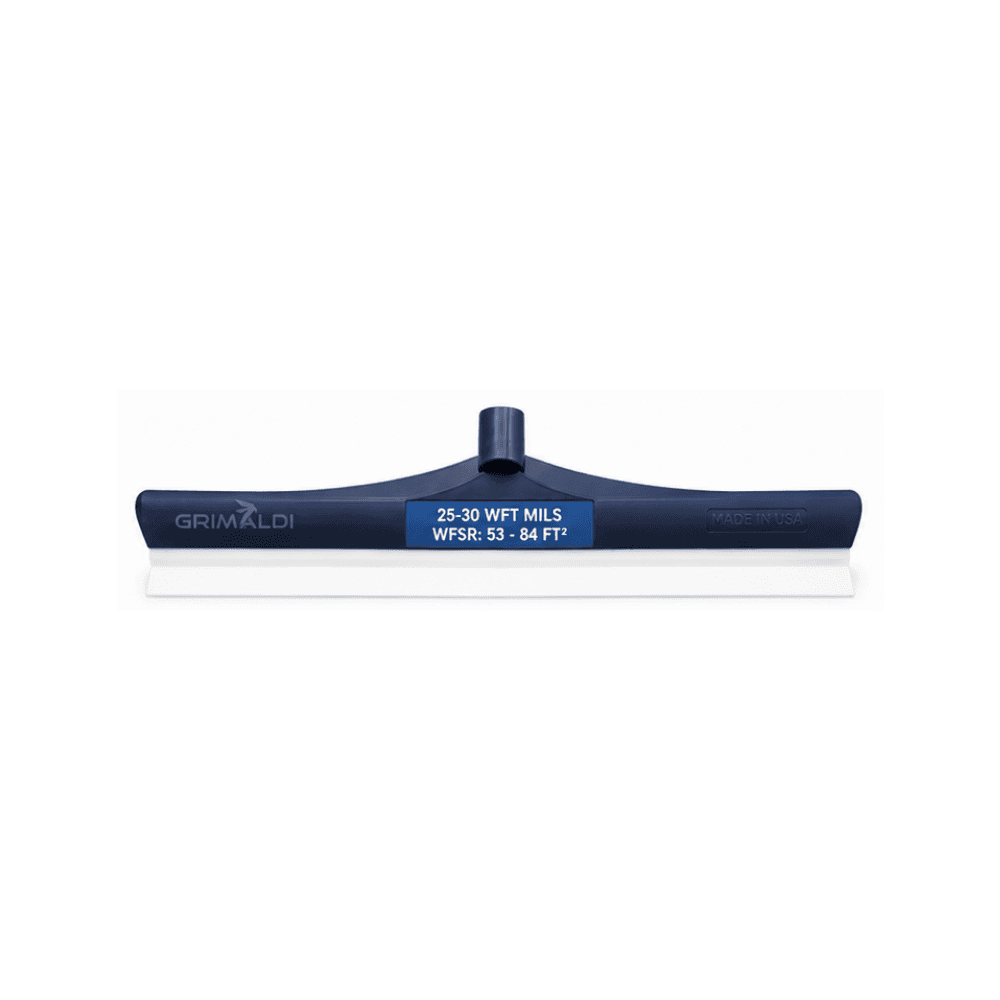
Grimaldi notched squeegees come in six ratings:
5 to 7 mils and 8 to 12 mils: thin primers, sealers and topcoats
15 to 20 mils: standard body coats
25 to 30 mils: heavier body coats and broadcast coats that need more material to hold aggregate
40 to 45 mils and 50 to 60 mils: high-build and self-levelling systems
Each has a notched EPDM blade on a one-piece polymer frame, in 18" or 24" widths. The 18" is easier to control in small rooms and along walls. The 24" covers open floor with fewer passes.
3. Form the cove before the floor coats
If the job has cove base, form it after surface prep and before the body coat, so the floor coats can carry up onto it as one continuous system. A cove trowel sets the radius, floor depth and wall height in one pass.
4. Mix, then pour in a ribbon
Mix only what you can place within the coating's pot life. Pour it across the floor in a ribbon, not a puddle, so the squeegee meets an even line of material.
5. Pull with the blade flat
Thread the squeegee onto a threaded handle. Pull it through the ribbon with the blade flat on the floor and steady pressure. Overlap each pass slightly. Let the notches do the metering; tilting the blade changes the film.
6. Back-roll to erase the notch lines
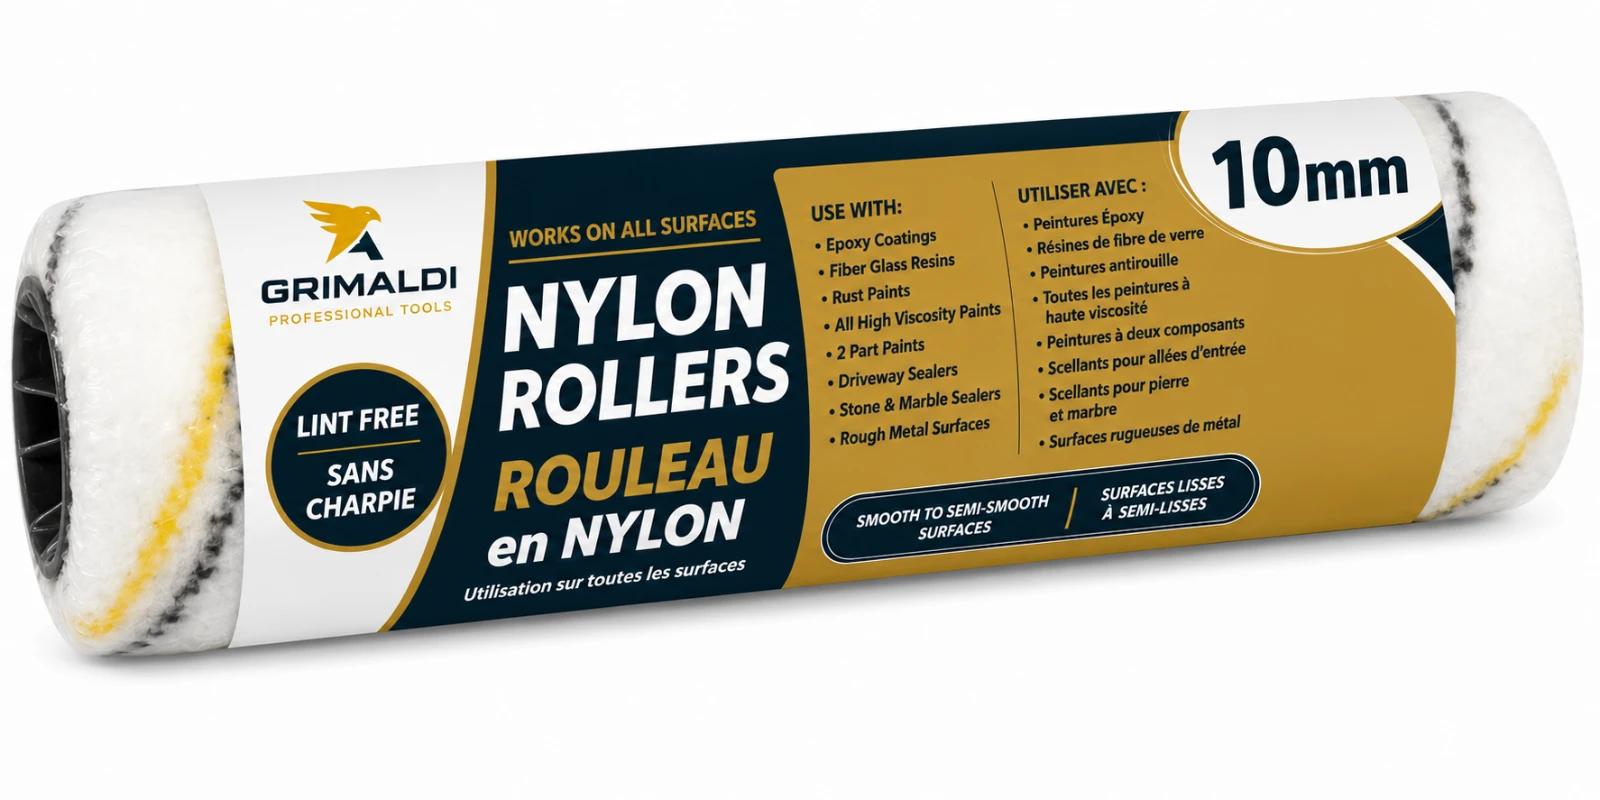
Follow immediately with an 18" lint-free nylon epoxy roller on an extension pole. Roll at right angles to the squeegee passes to even out the notch lines. A 10 mm or 13 mm nap suits most body coats; go to 15 mm for heavier coats.
7. Walk it in spiked shoes
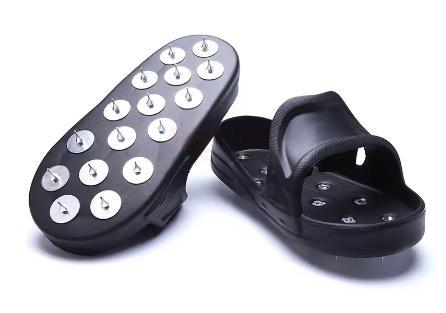
Any time you need to step onto the wet coat, to back-roll, release air with a spike roller, broadcast chips or fix a spot mid-floor, wear spiked overshoes. Your weight rides on the 2 cm spikes and the coating flows back in behind you. Replace the spikes when they dull or pick up cured resin; a worn spike drags instead of slipping in and out.
8. Scrape before the topcoat
On a full chip broadcast, once the coat has cured, scrape down loose and standing chips with a flexible blade scraper, then vacuum thoroughly before the topcoat.
Checklist
WFT from the data sheet
Squeegee notch matches the WFT
Cove formed
Batch sized to pot life
Ribbon pour, flat pull, overlapping passes
Back-rolled at right angles
Spiked shoes for every step on the wet coat
Scraped and vacuumed before topcoat